# User management
💡 Reminder
The modules you have access to depend on the role you have been assigned. To be able to manage users, you must have the Administrator role activated. The same goes for the available roles, they are only visible if the corresponding modules have been activated for your account.
To access the user management module, log in to the portal and click on the SETTINGS section and the User Management subsection.
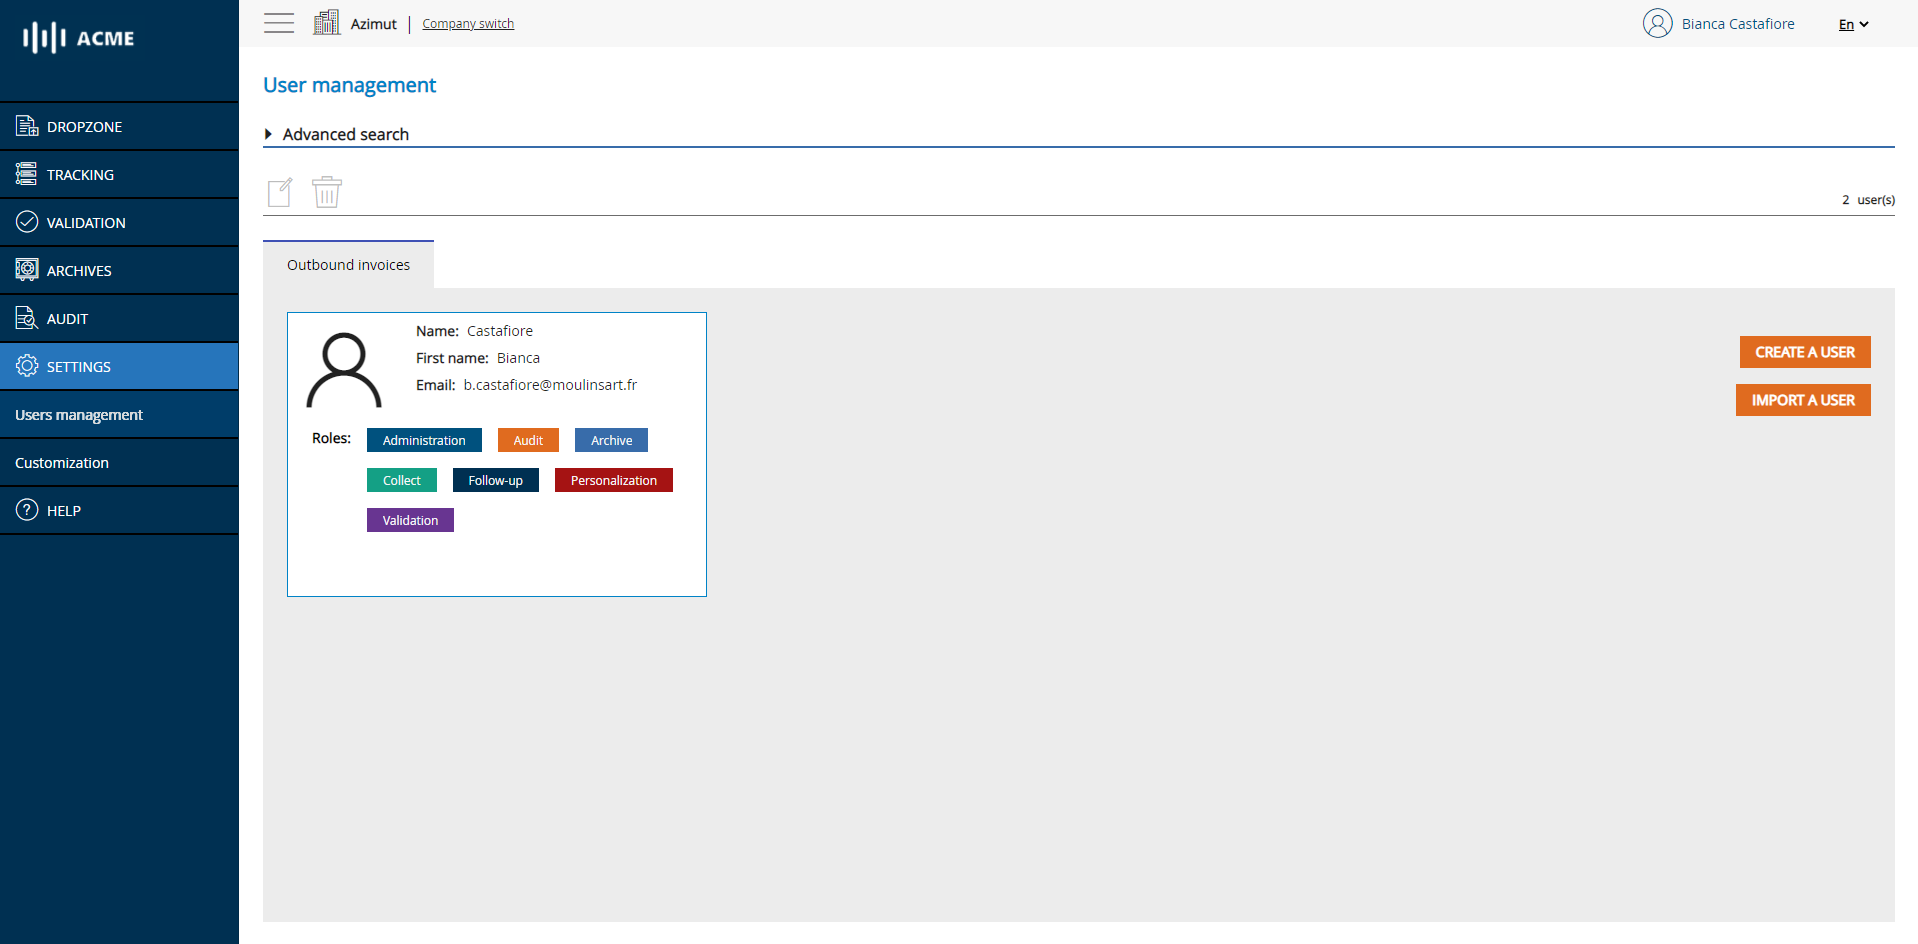
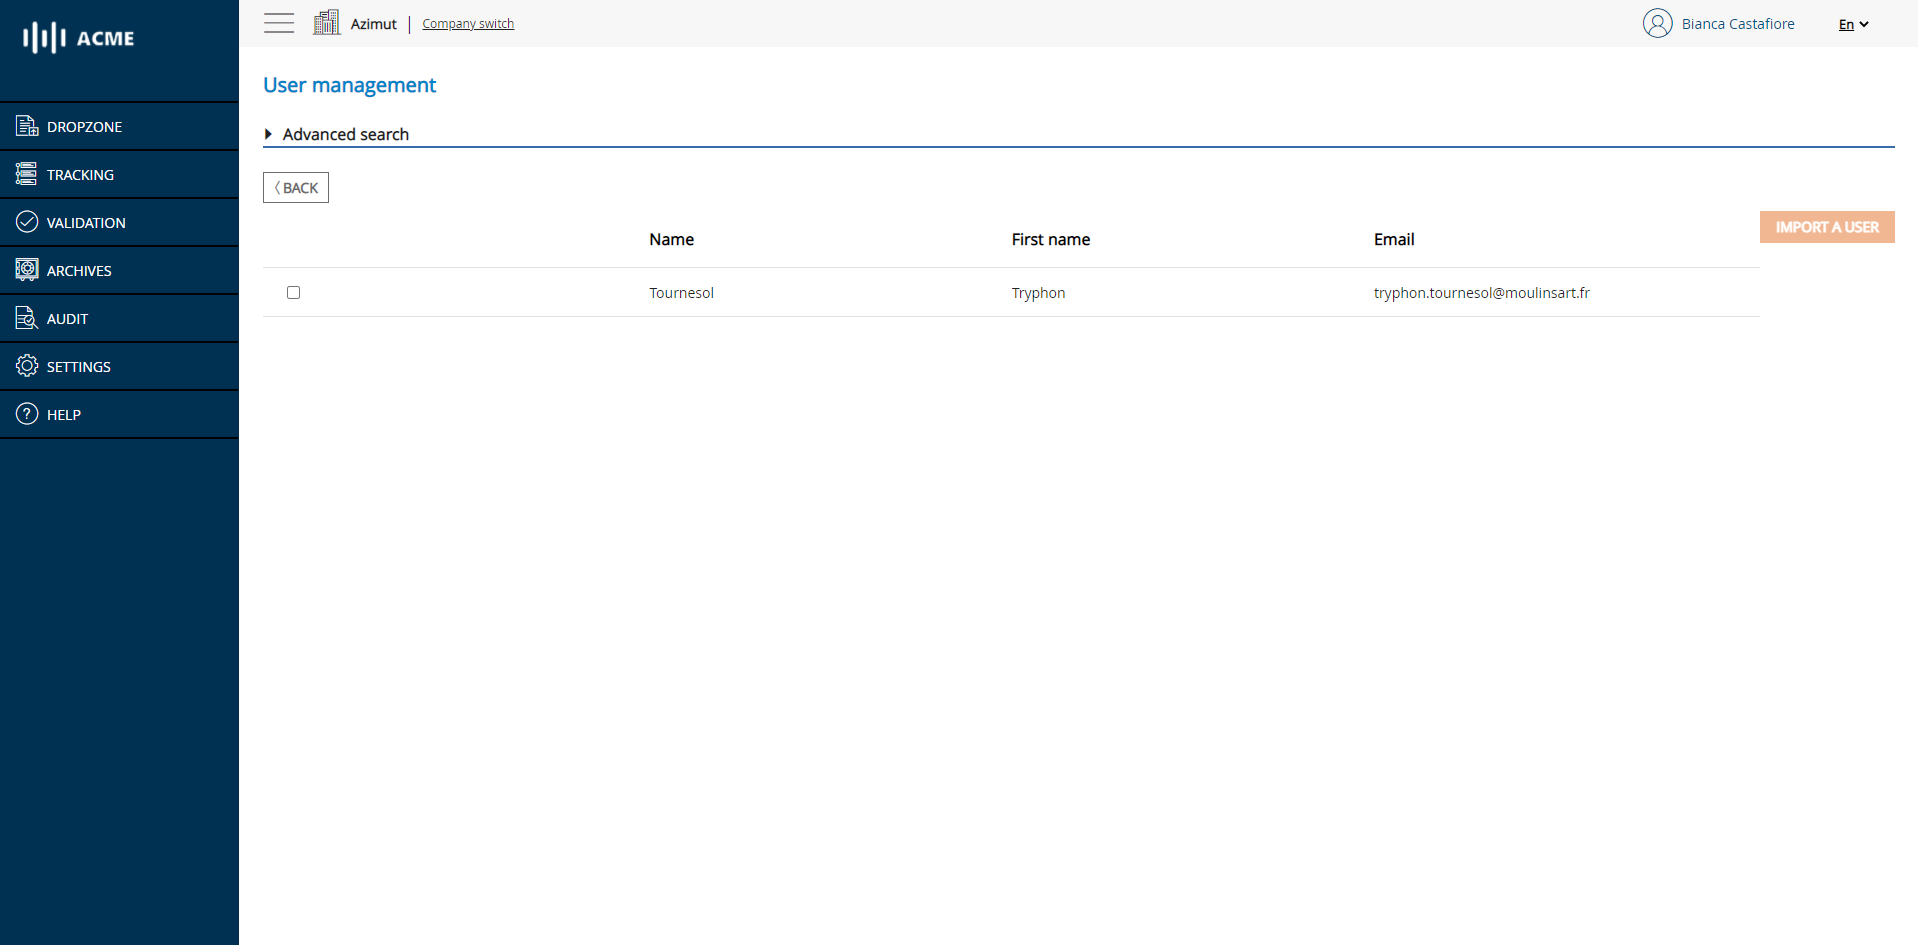
# User management main screen
# Searching for users
To search for users authorized to act on the company, click on ADVANCED SEARCH, you will then access the search form which will allow you to search for users by name, first name, email or role.
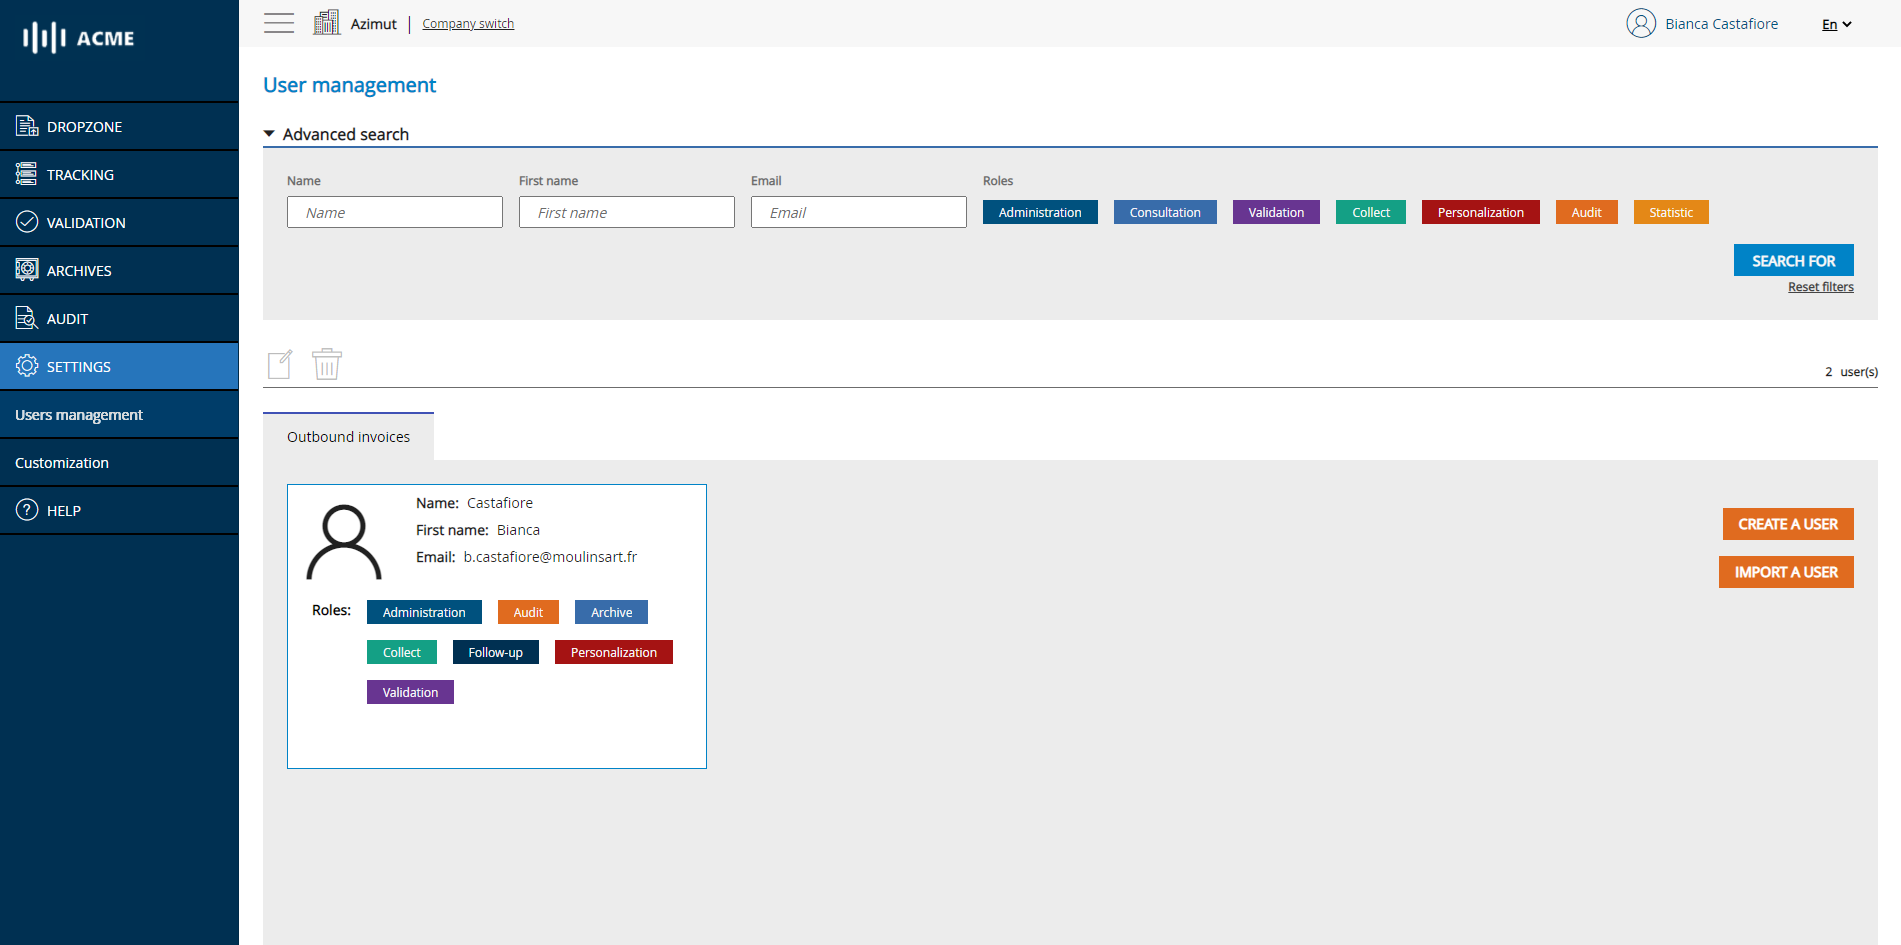
# User management - Searching
# Editing a user
To change the information concerning a user (name, first name, email or roles), you just have to click on the card of the concerned user then click on the edit button.
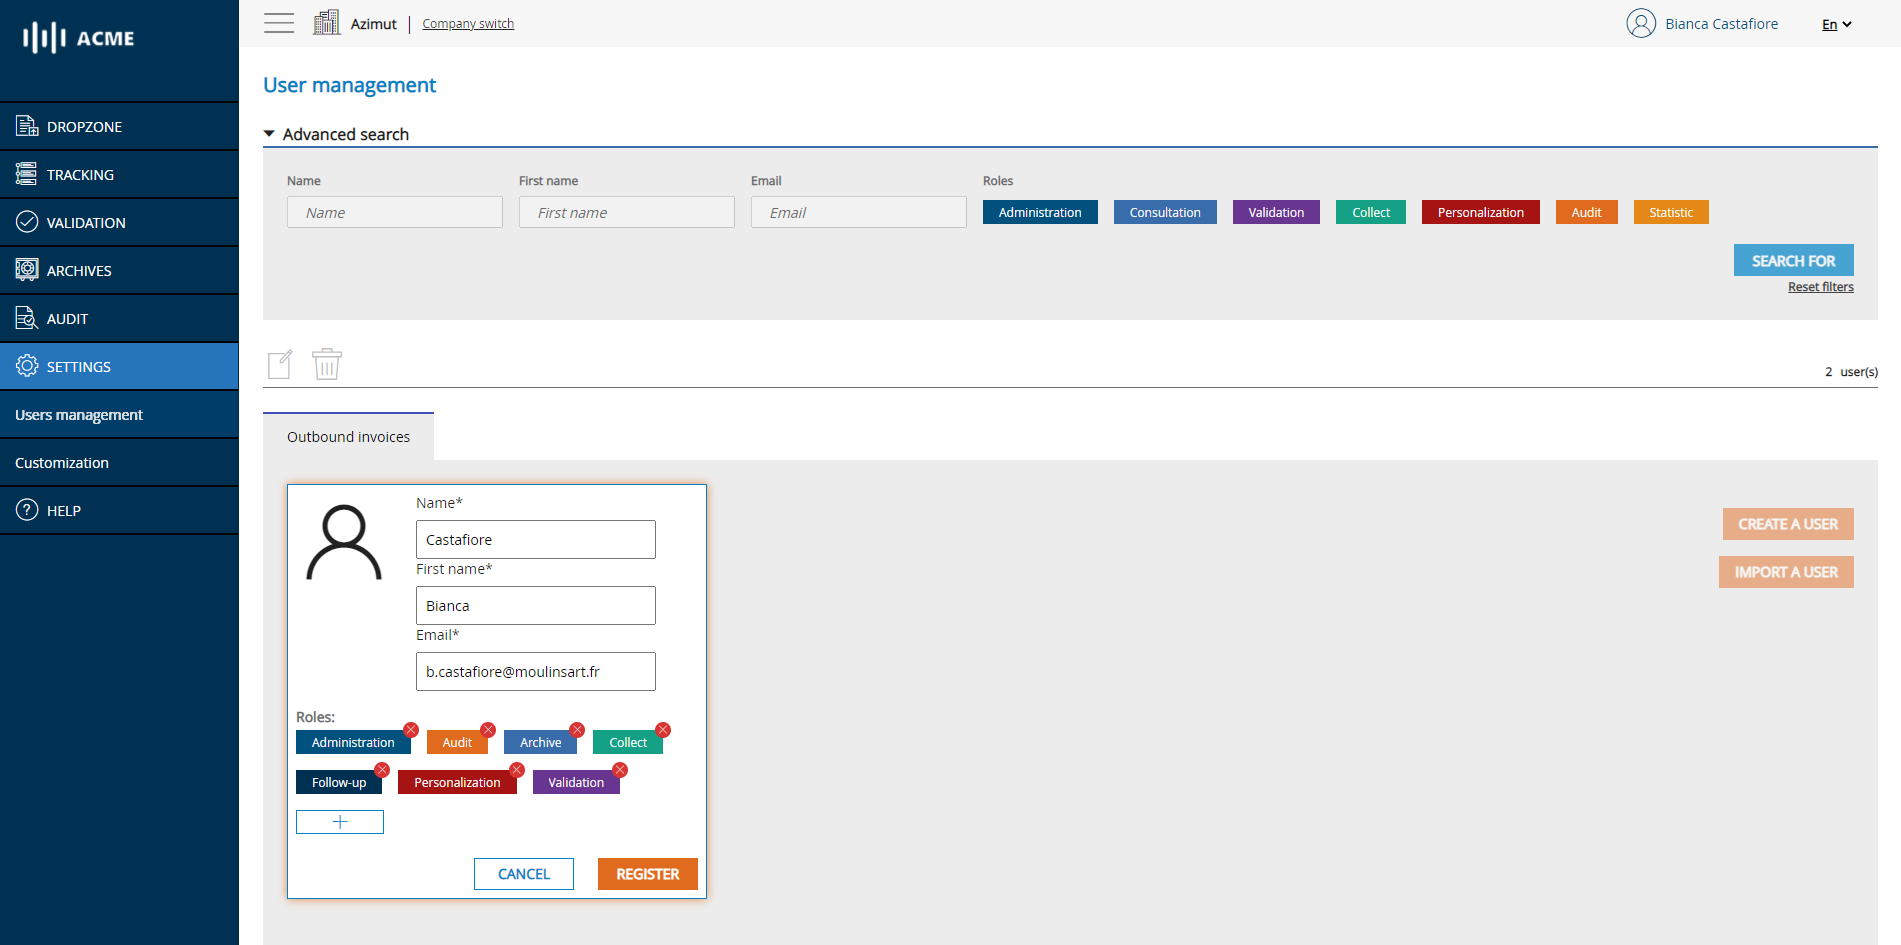
# User Management - Editing
Once in edit mode, you have the possibility to modify the user's information, to delete roles by clicking on the red cross of the corresponding label or to add additional roles by clicking on the + button. The list of available roles and a description of each of them will then appear.
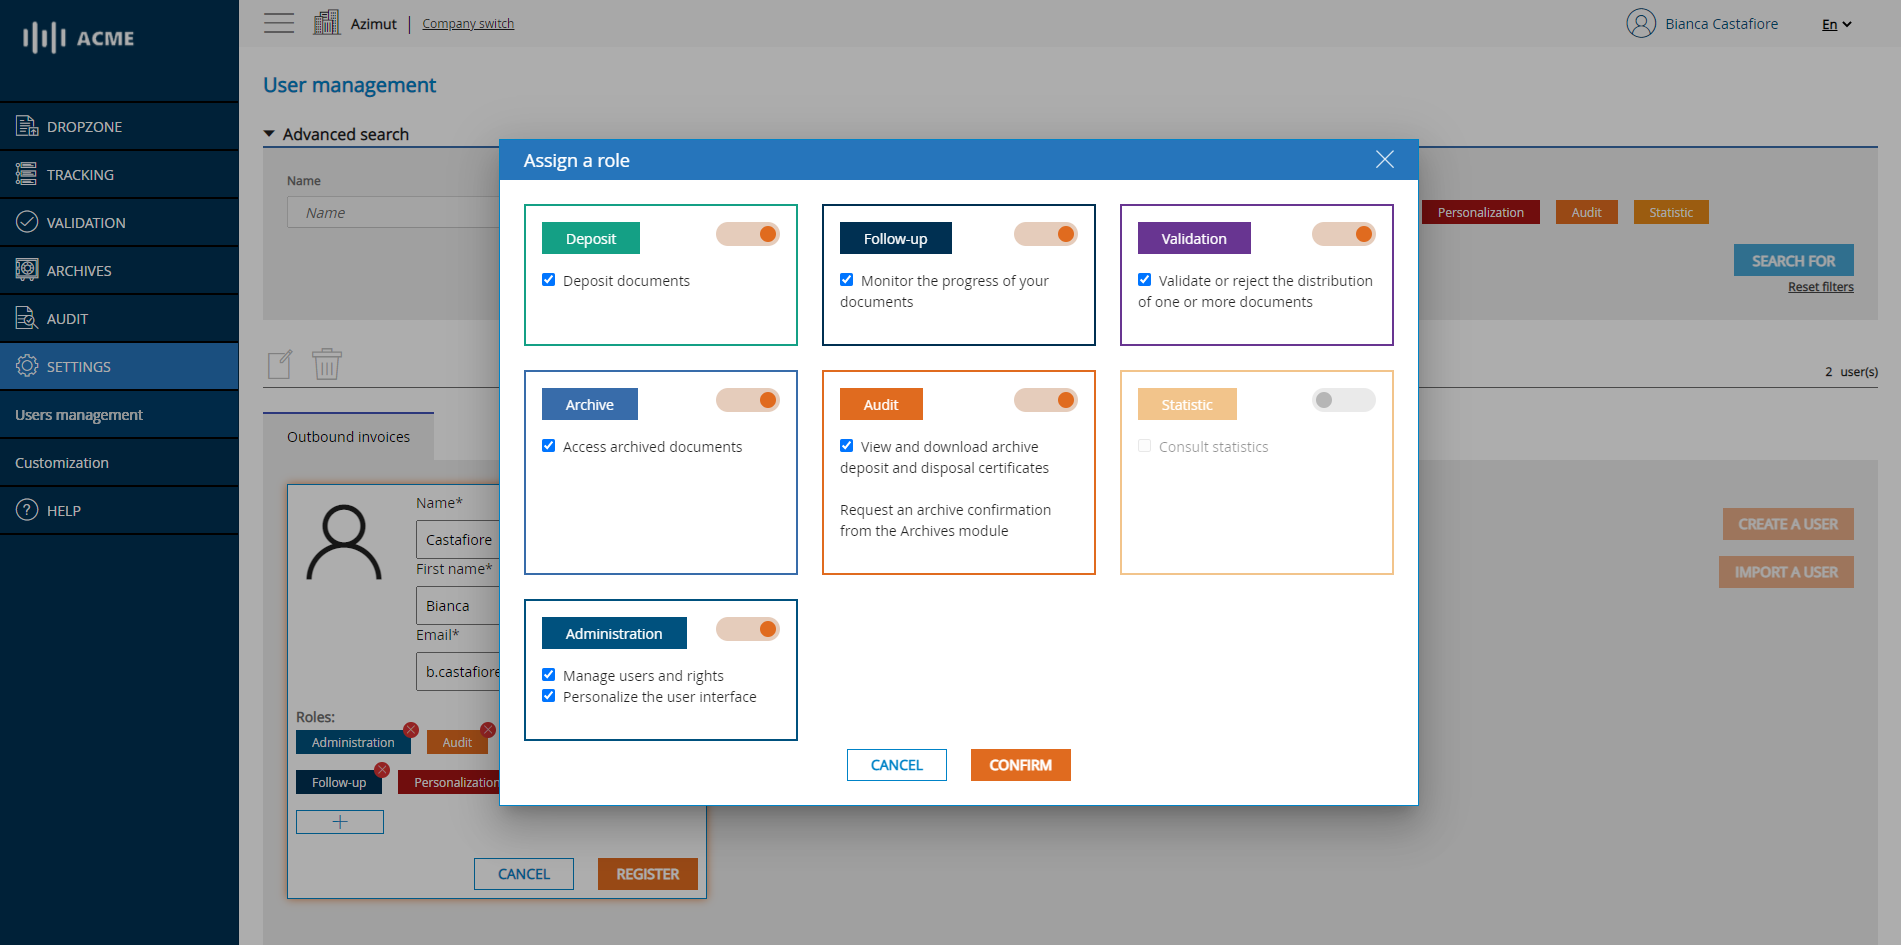
# User management - Add a role
Activate the desired roles for the user and click CONFIRM.
You will then be redirected to the map editing mode. All you have to do is click on SET to apply your changes.
# Importing a user
💡 Reminder
The import a user button only appears if there are users attached to your company's account, associated with other SIRENs and not yet attached to the current SIREN.
To import a user, click on the Import a user button. You will be redirected to the list of available users.
# User management - import a user
Select the desired user using the checkbox and then click on the IMPORT USER button. A window will appear. Here you can check the user's information and assign the desired roles.
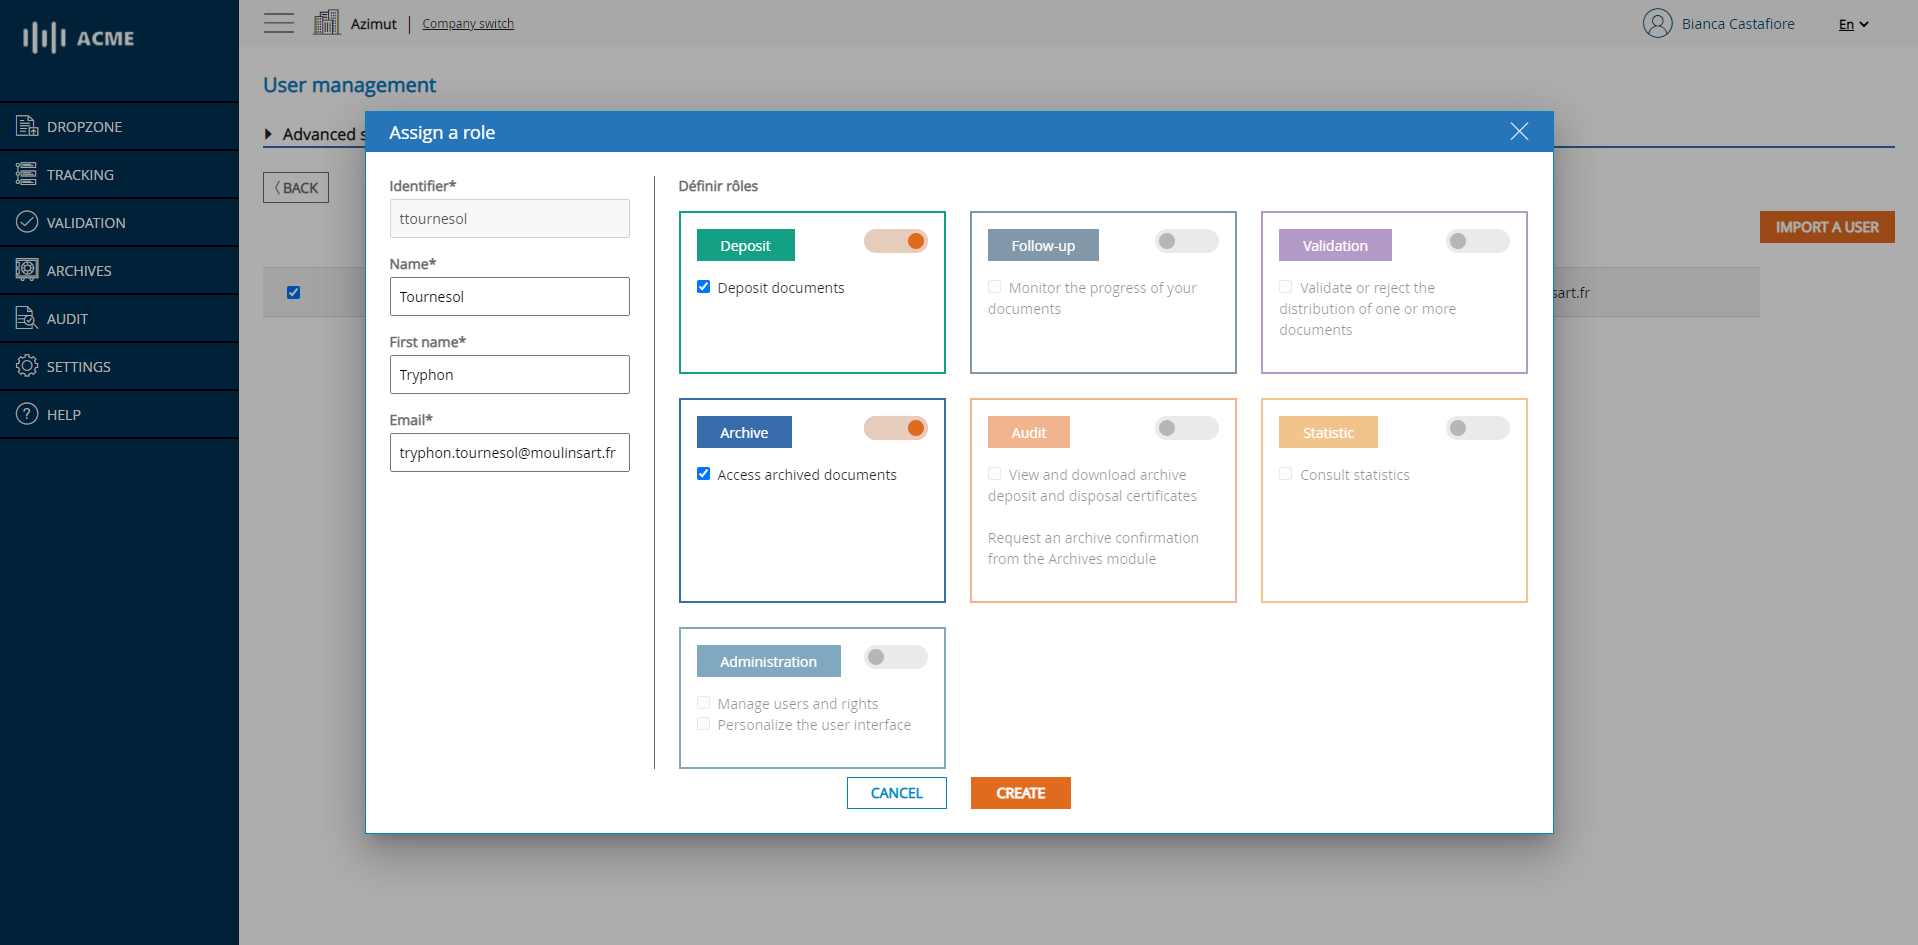
# User management - import a user - choose a role
Once the desired roles have been activated, click CREATE to import the user. You will then be redirected to the list of users and the imported user will appear there.
# Creating a new user
To create a new user, click on the CREATE USER button. A user creation window will appear.
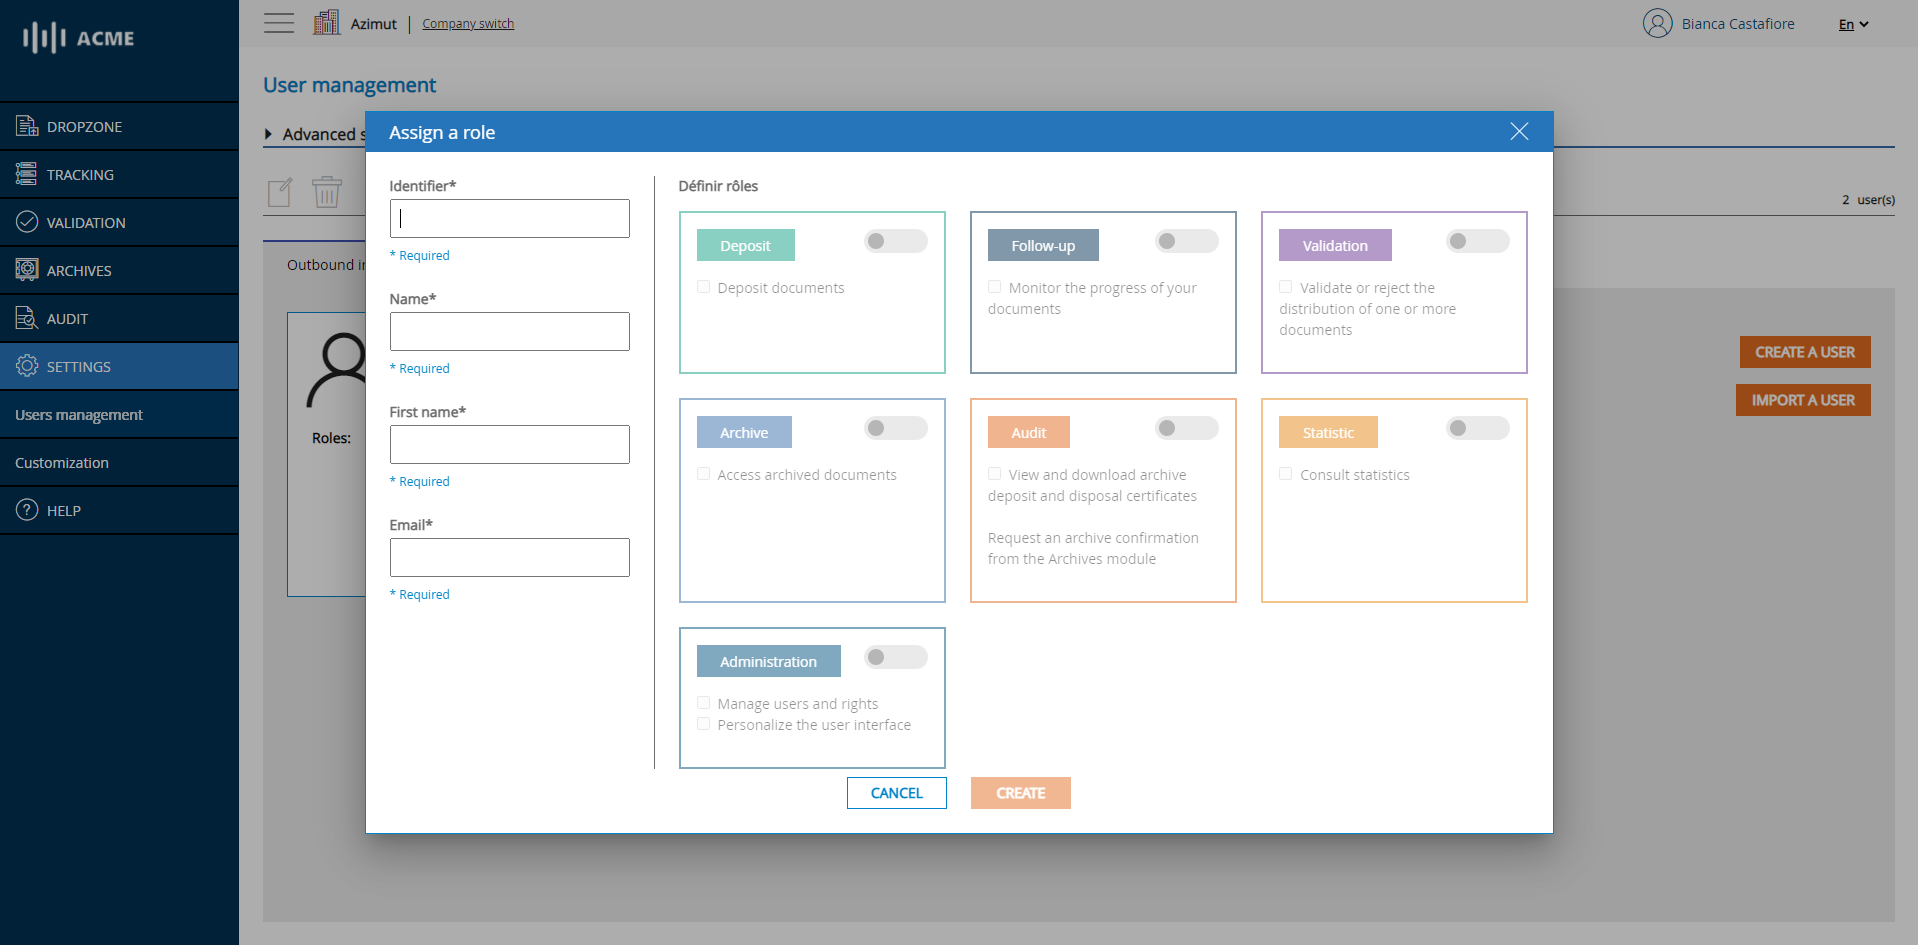
# User management - create a user
After filling out the form on the left and activating the desired roles in the list on the right, click on the CREATE button. You will then be redirected to the list of users and the created user will appear there.
💡 Reminder
If an SSO module is configured, you will have the option to choose to create your user from the platform repository (Local tab) or from your SSO repository (SSO tab).
# Interface customization
To access the interface customization module, log in to the portal and click on the SETTINGS section and the Customization subsection.
# Interface customization screen
# Change the logo
To change the logo, click on the IMPORT button on the left sidebar and select your file. You will have an immediate preview of the result on the right pane. You also have the option to choose the alignment you want (LEFT, MIDDLE or RIGHT).
# Interface customization screen - Logo change
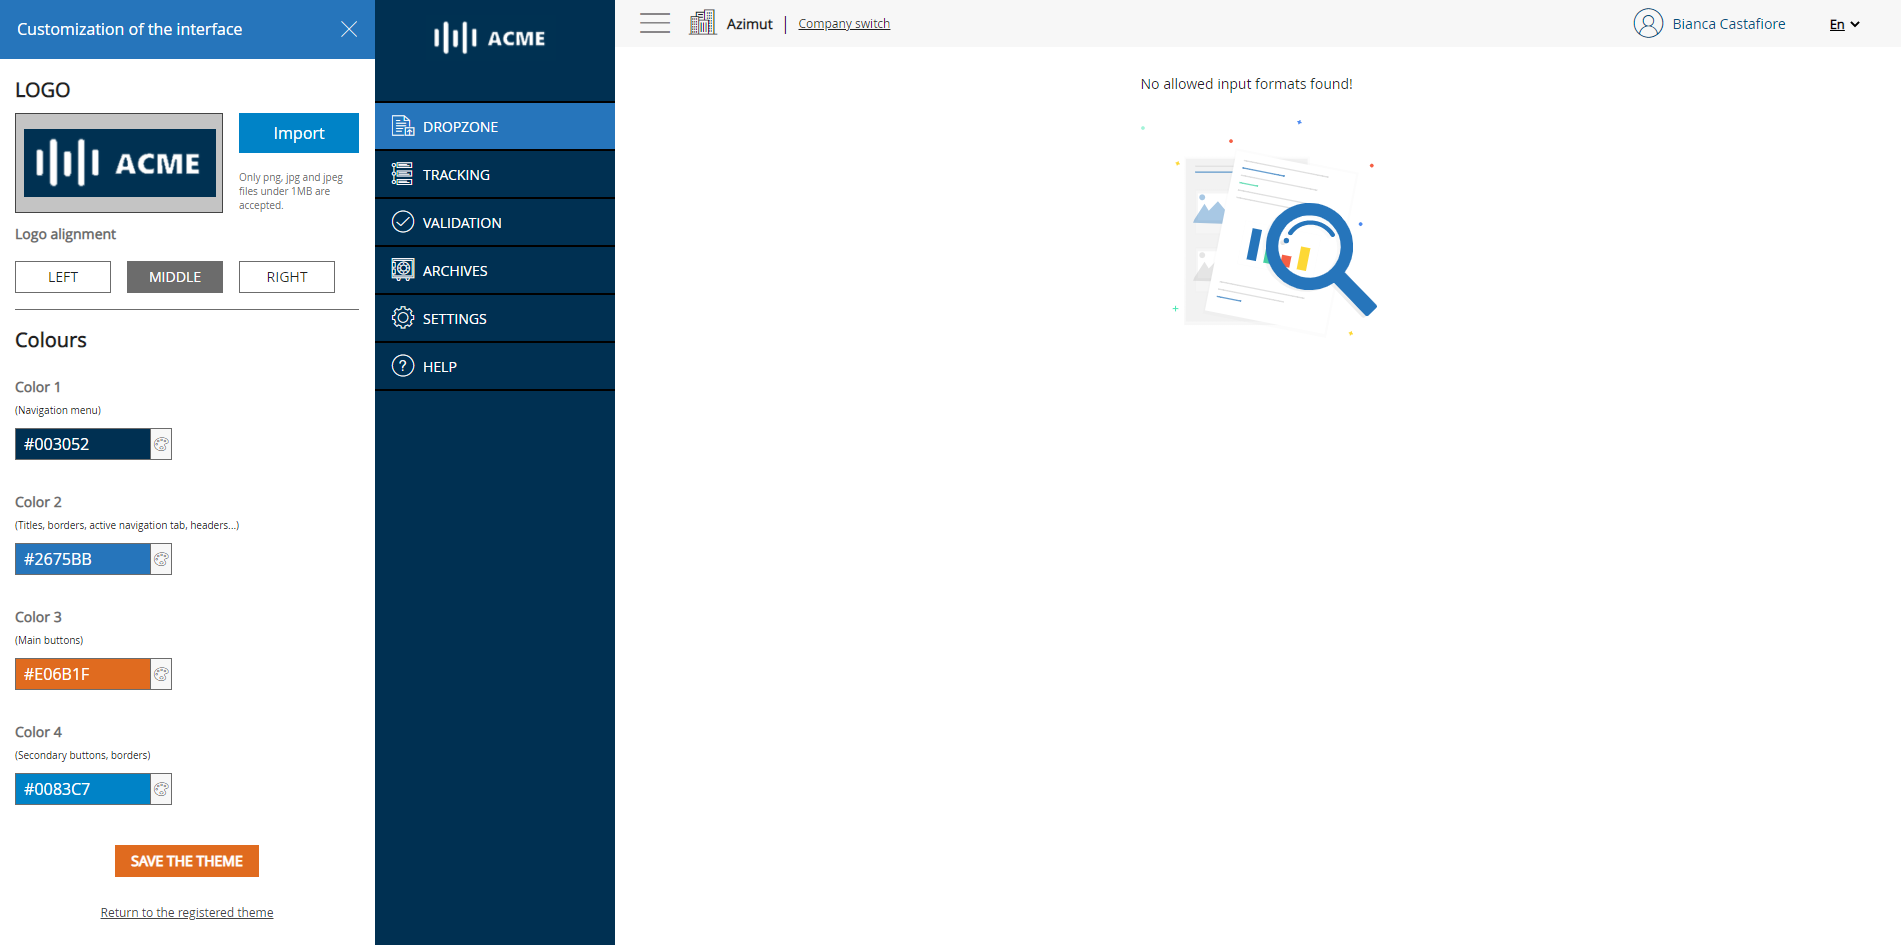
# Changing the interface colors
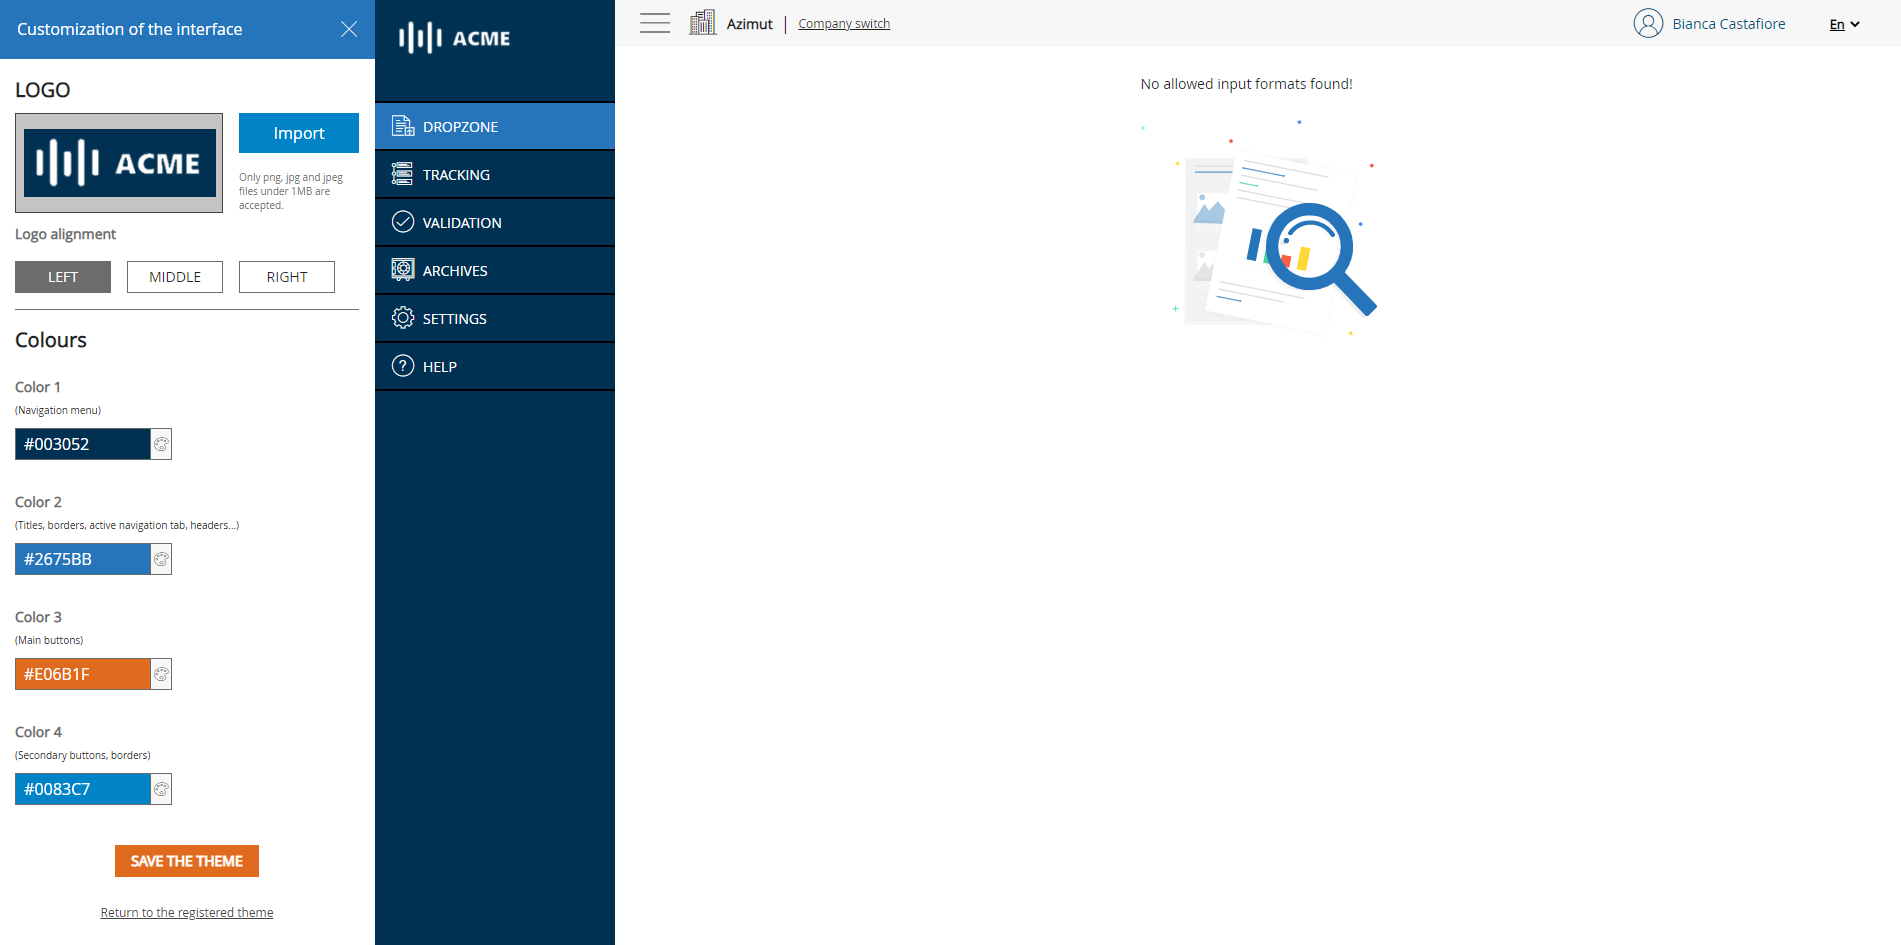
To change the colors of the interface, click on the corresponding color palette and select the color you want. You will have a preview of the result in real time. If you have the desired colors in hexadecimal format, you can enter them directly in the box concerned.
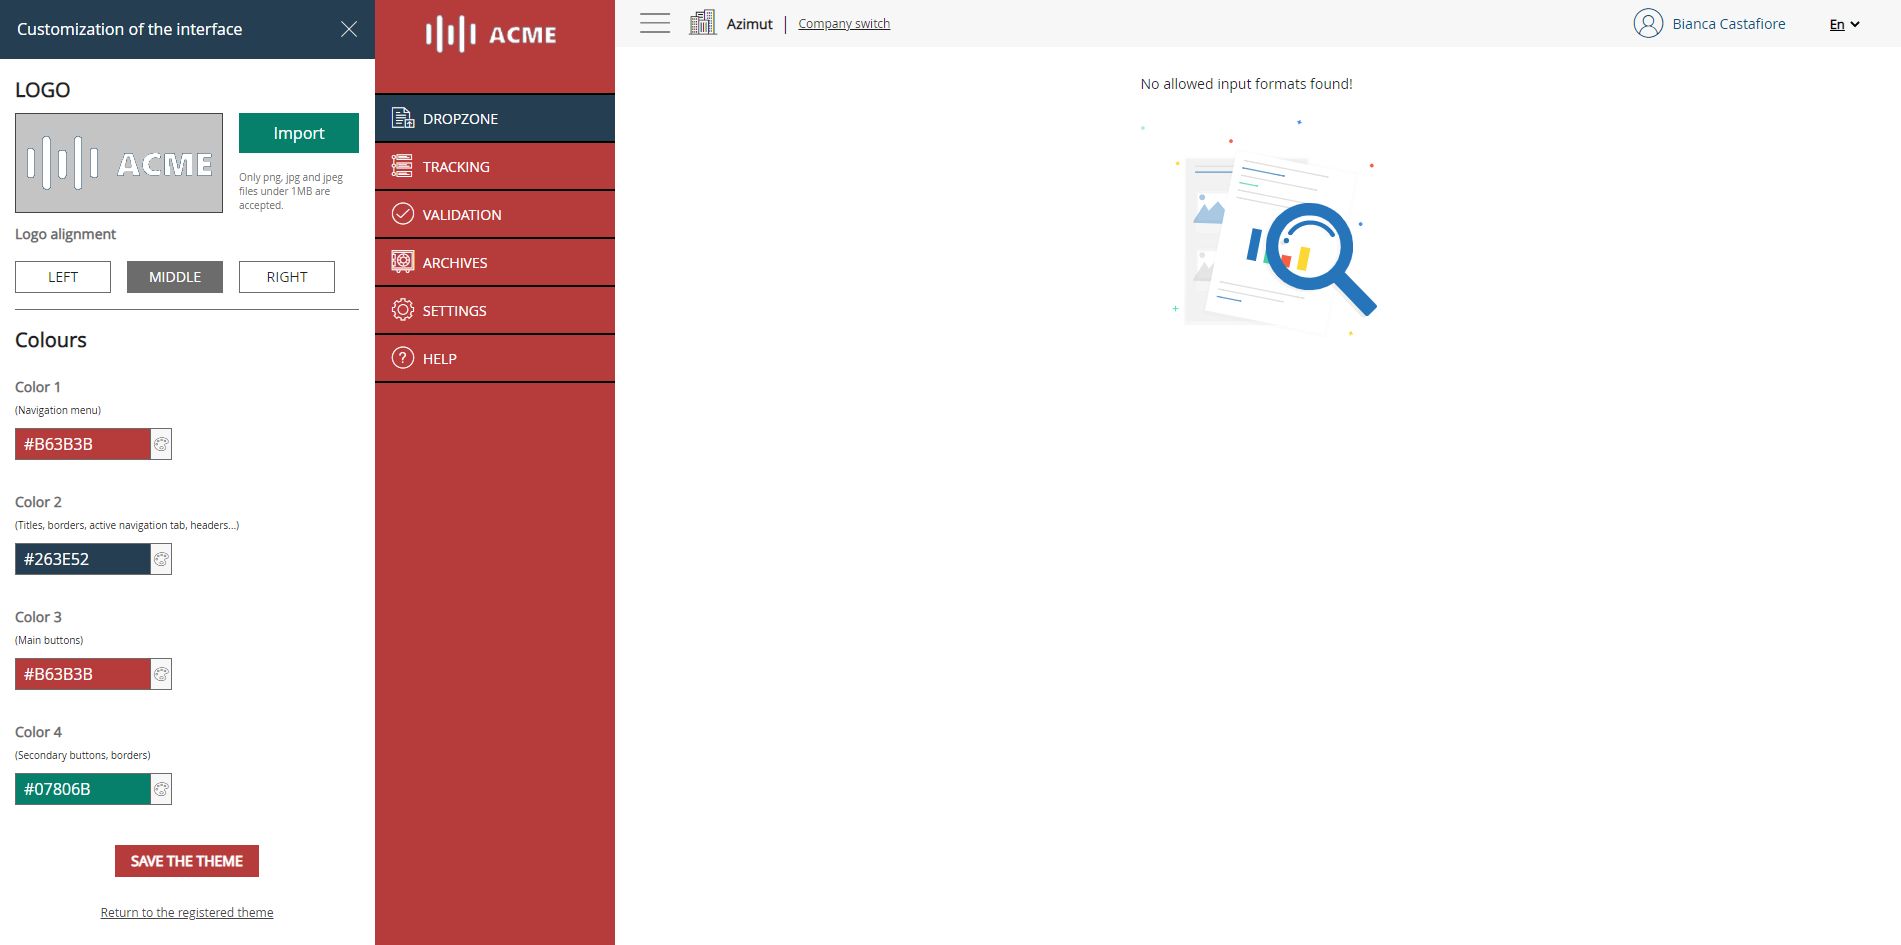
# Interface customization screen - Colors change
# Theme registration
Once you are satisfied with your changes, you can save your new theme by clicking on SET THEME. A confirmation window will appear on the screen to let you know that your changes have been taken into account.
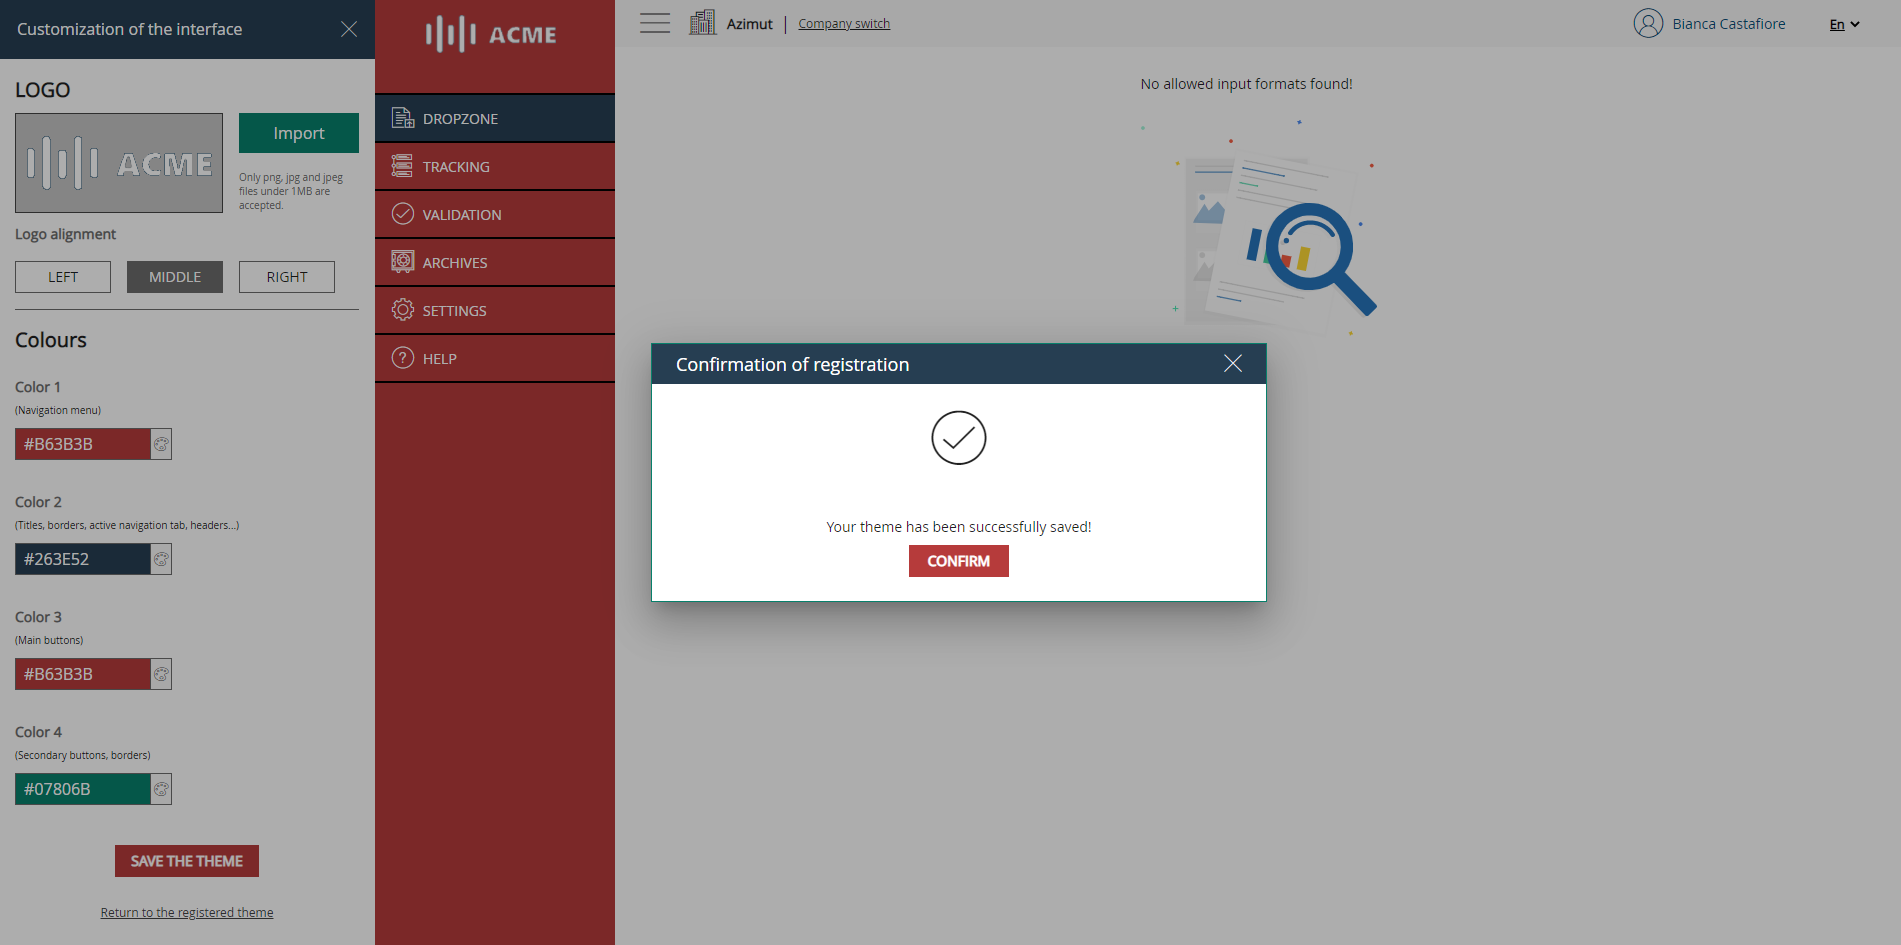
# Interface customization screen - Registration confirmation
💡 Reminder
As long as you have not saved your changes, you can return to the last saved theme at any time by clicking on the Return to saved theme link.
# Clients directory
💡 Reminder
The Clients Directory module allows you to declare information about the desired distribution method for each customer if your invoices are transmitted without a companion file in CSV format. If you send your invoices with a companion file, you do not need the directory. To access the directory module, you must have the corresponding rights.
# Access the clients directory module
To access the directory module, once you have the appropriate rights, go to the Settings module and then to the Clients Directory submenu
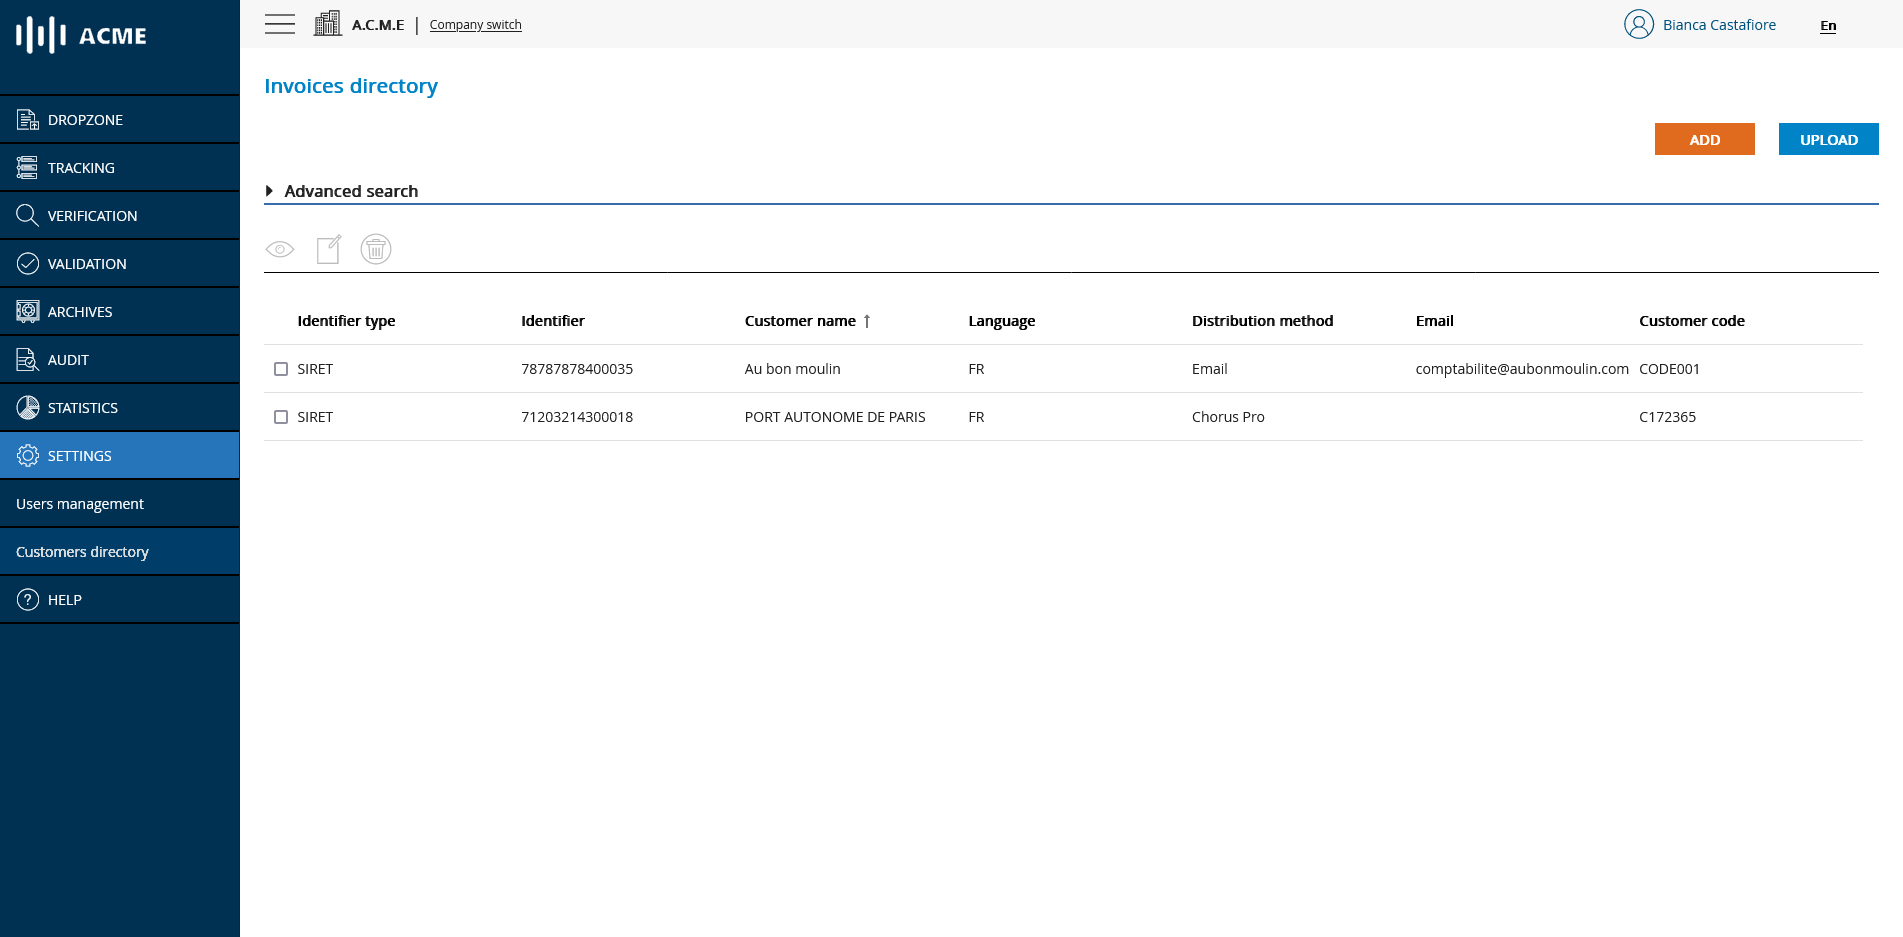
# Clients directory's main screen
# Create or import a new entry in the clients directory
You can create a new entry in the directory in two ways:
- By clicking on the Add a customer button and filling in the form with the information corresponding to this customer.
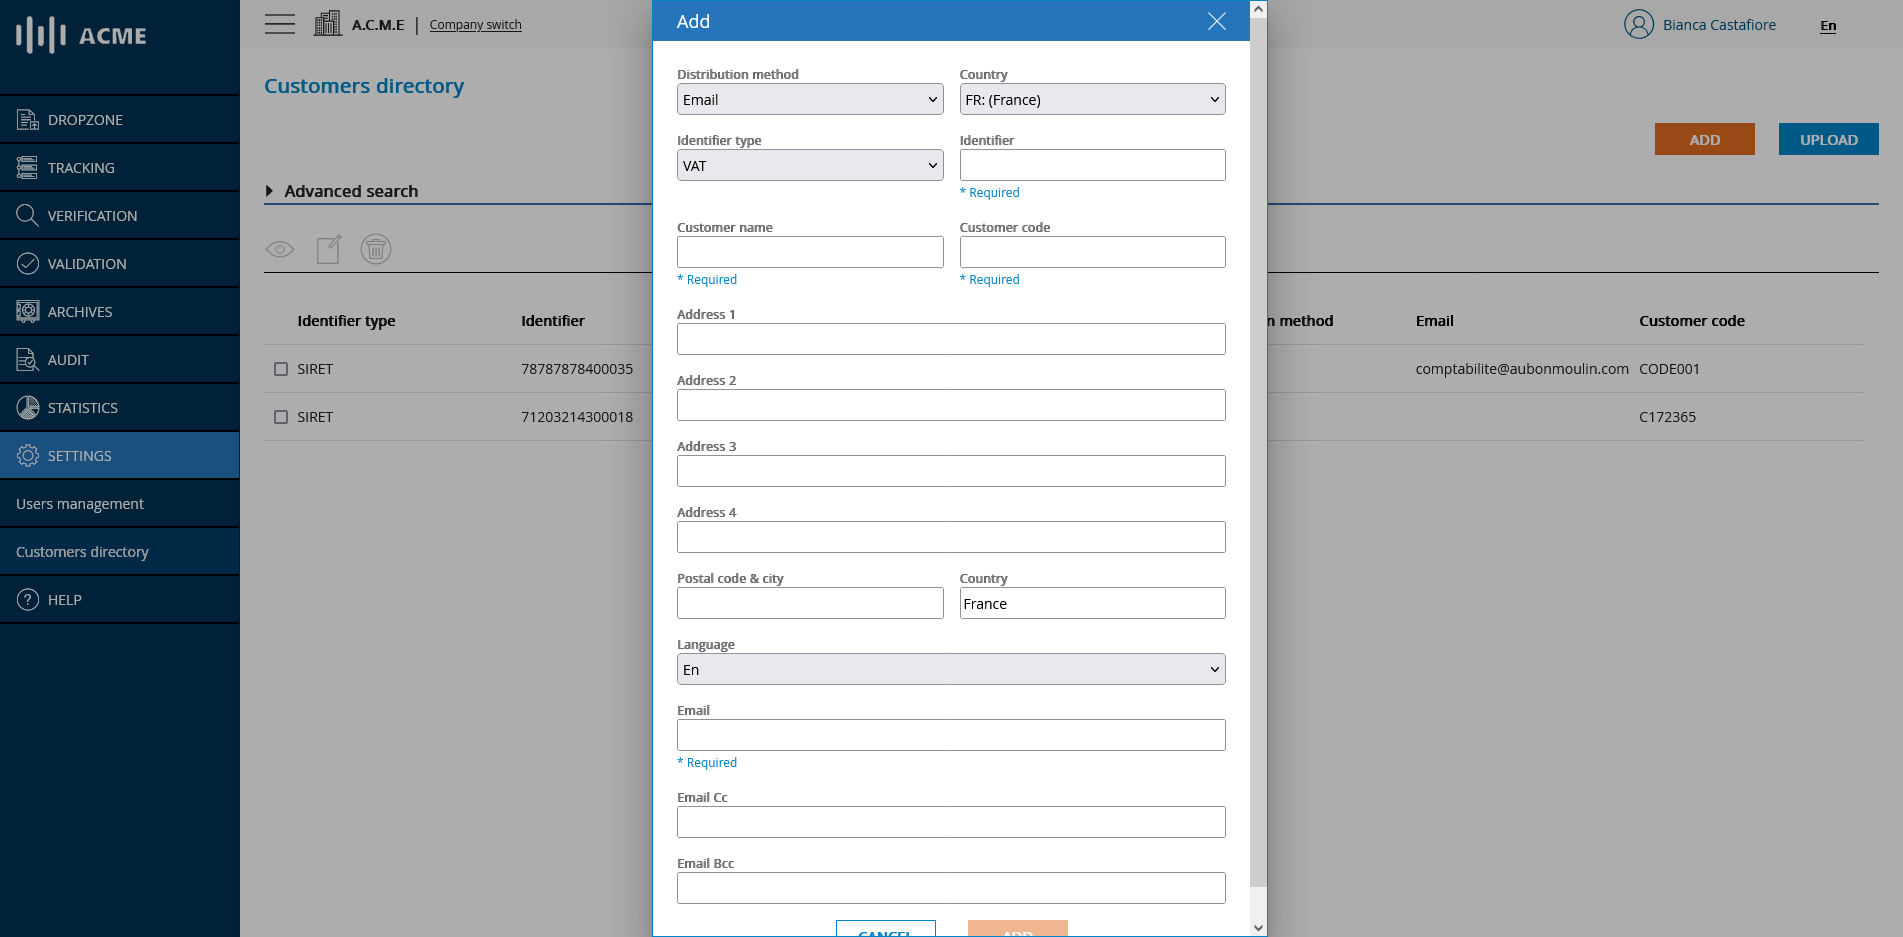
# Screen for adding an entry to the customers directory
- By clicking on Uplaod, add a list of customers from a file in XLSX or CSV format.
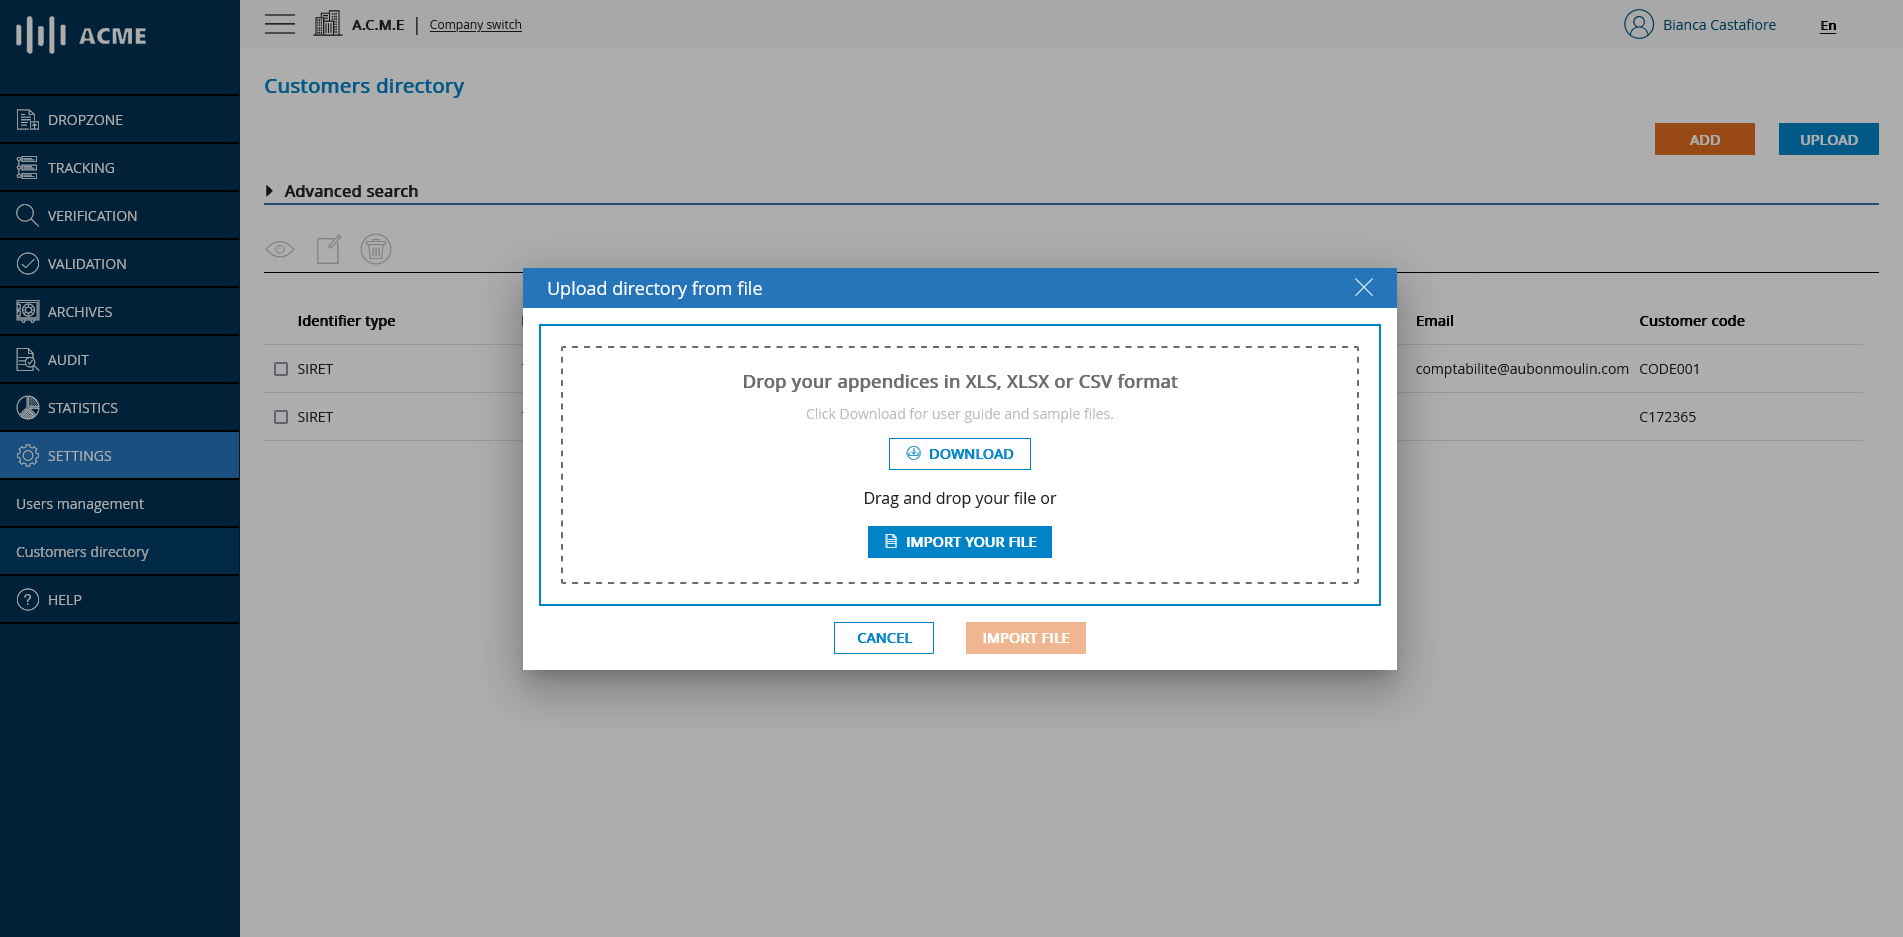
# Import screen in the clients directory
💡 Reminder
Be sure to fill in your directory with the same identifiers that you use in your invoices (SIREN, SIRET, VAT number...) so that the platform can match your invoices to the corresponding directory entry.