# Verification of payslips and annexes
✔️ Pre-requisites
- To access the verification module, you must have access to the verification module for the concerned subscription.
# Access the verification module for a flow
If the VERIFICATION module is activated, once your payroll flow containing appendices has been filed via the DROPZONE module, after preparation, your flow will need to be verified and confirmed before you can proceed to the next step. The user(s) with the Verification role will automatically receive an email indicating that documents are pending verification.

# Pending verification notification email
As a submitter, click on the link in the email or log in directly to the portal and click on the VERIFICATION section to access the list of flows awaiting verification.

# List of flows to check
To proceed with the verification of a flow, simply click on the START VERIFICATION button of the flow you wish to process. This will take you to the document verification page.

# Main verification page
# Control the annexes identified in the payroll flow
Payslips for which annexes have been identified within the payslip are marked with an ⯈ icon and the number of annexes is shown in the annexes column.
Click on the ⯈ icon to view the list of annexes associated with this pay slip along with their name and type.
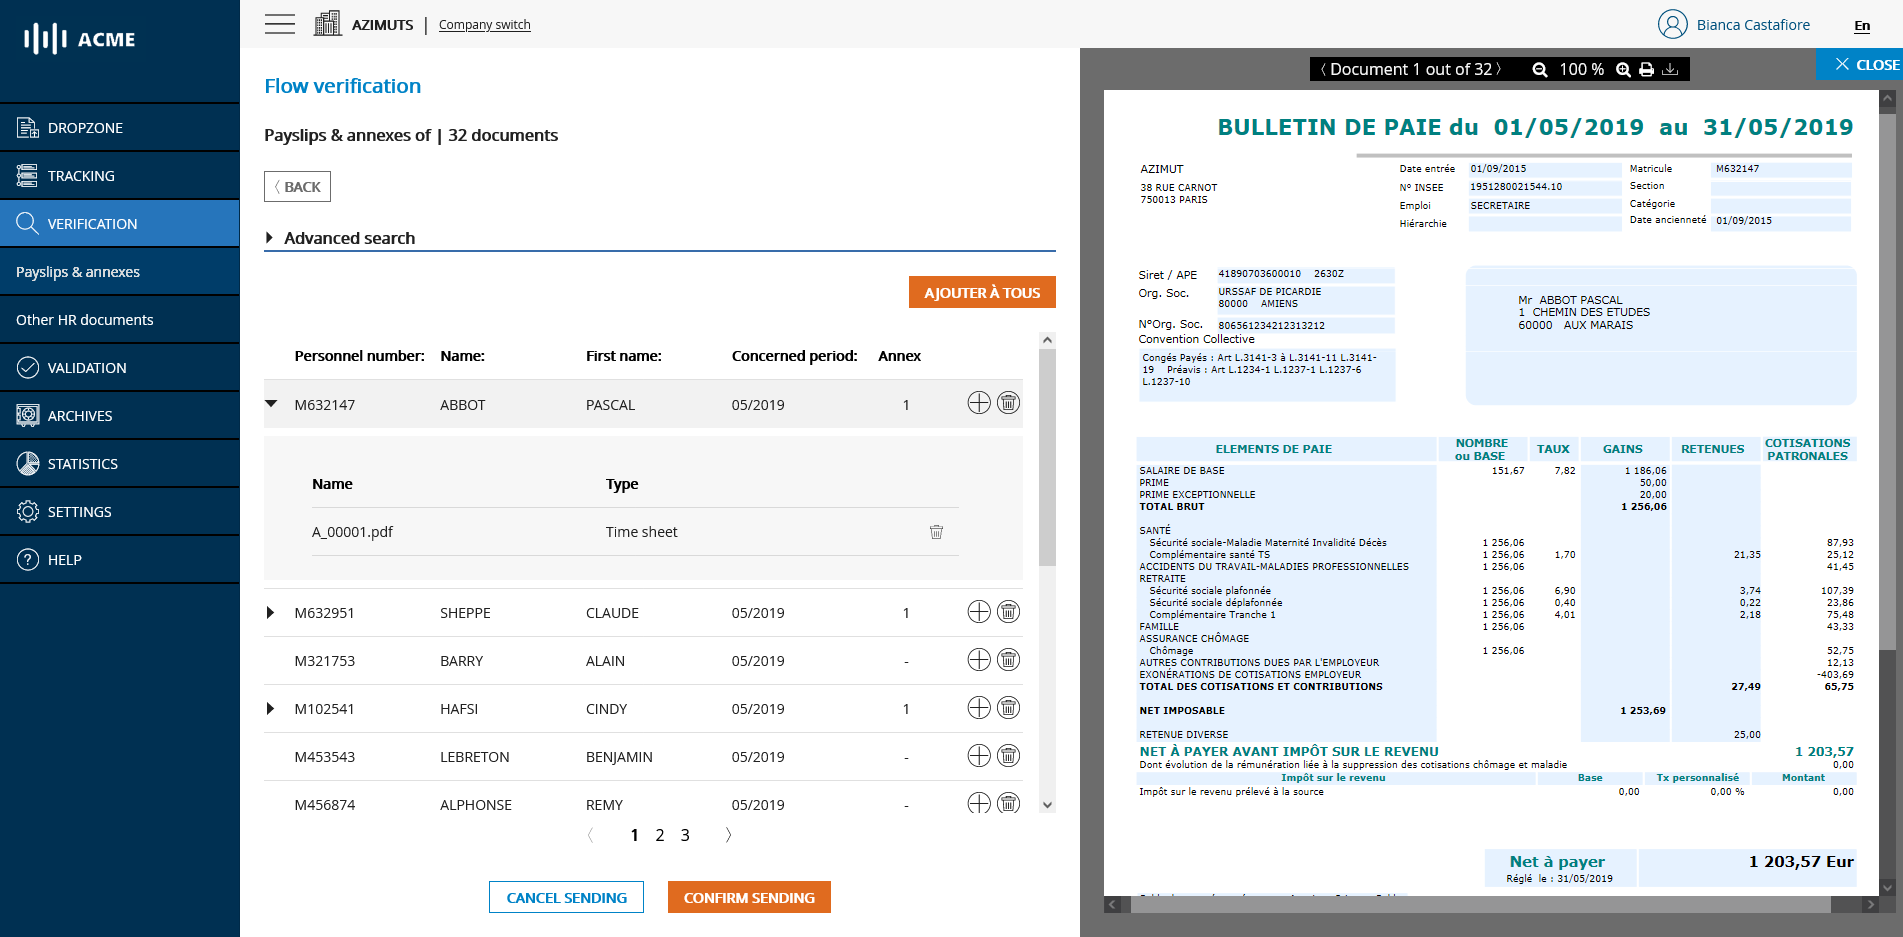
# List of annexes corresponding to a pay slip
You can preview the annex by clicking on it
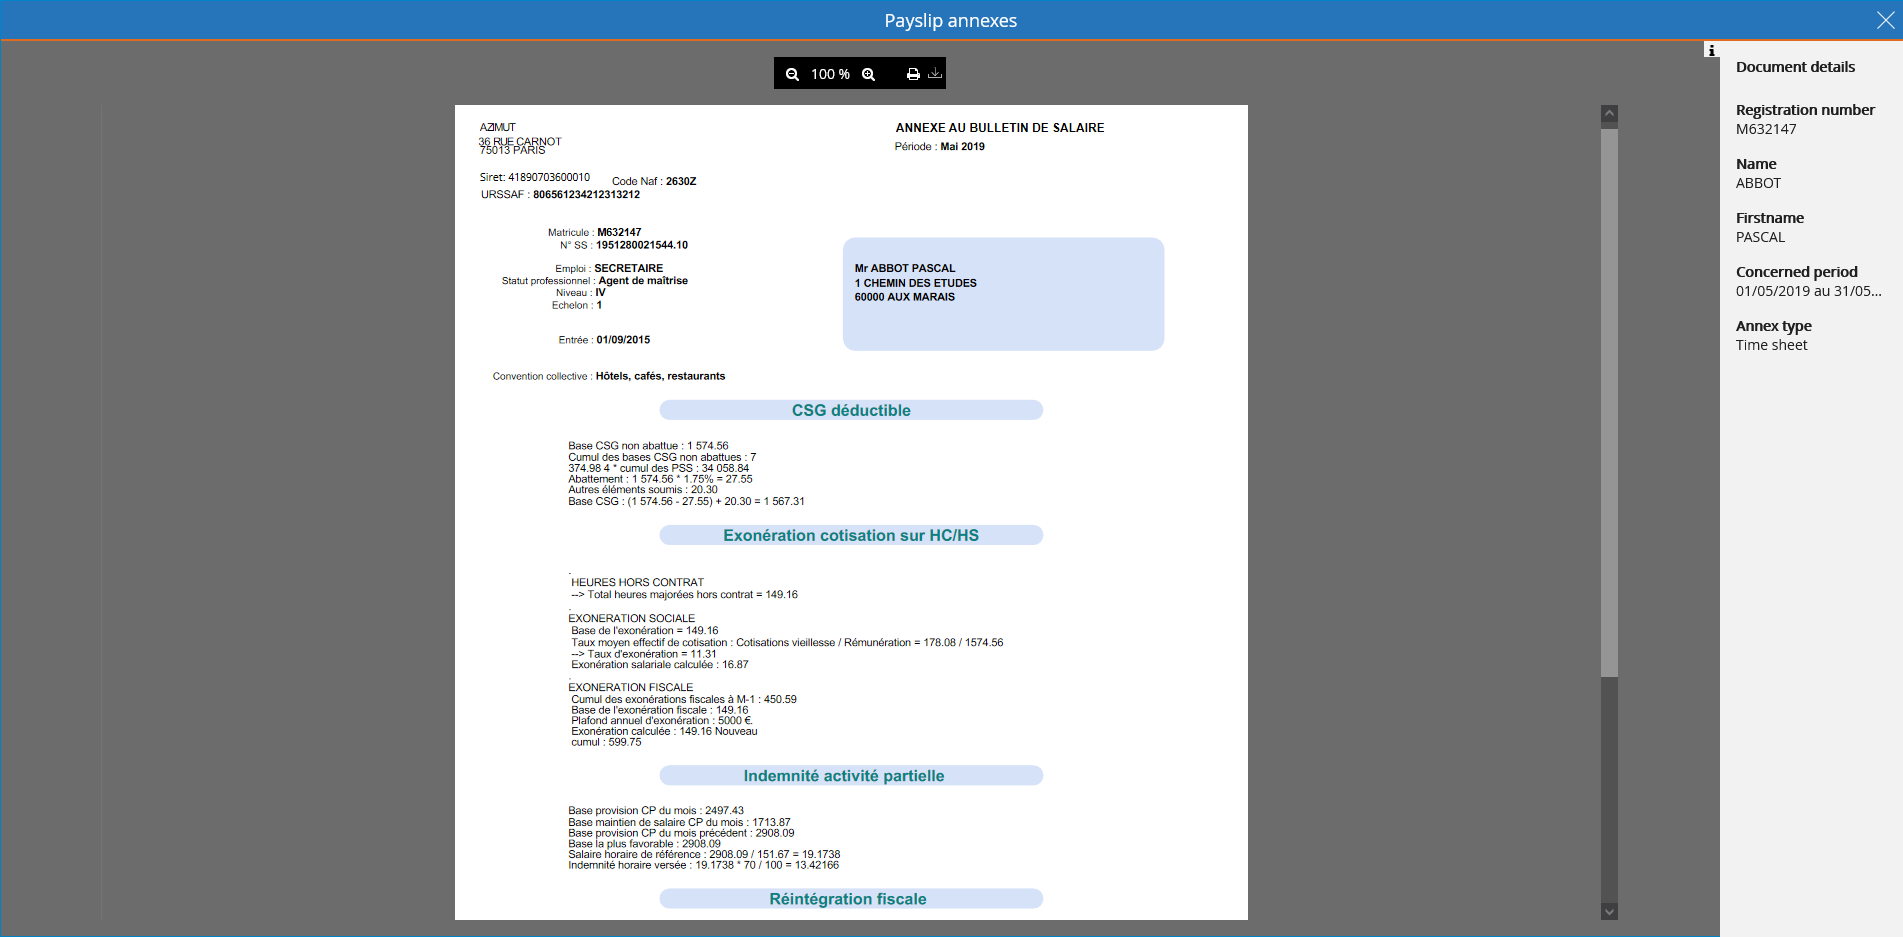
# Viewing an annex corresponding to a pay slip
# Add annexes to pay slips individually
During the Verification phase, you have the possibility to manually associate annexes to a given payslip as long as it is a document in PDF format and weighs less than 1MB.
To add an annex and associate it to a payslip, click on the + icon on the line of the desired payslip. A modal window with an annex addition form will be displayed.
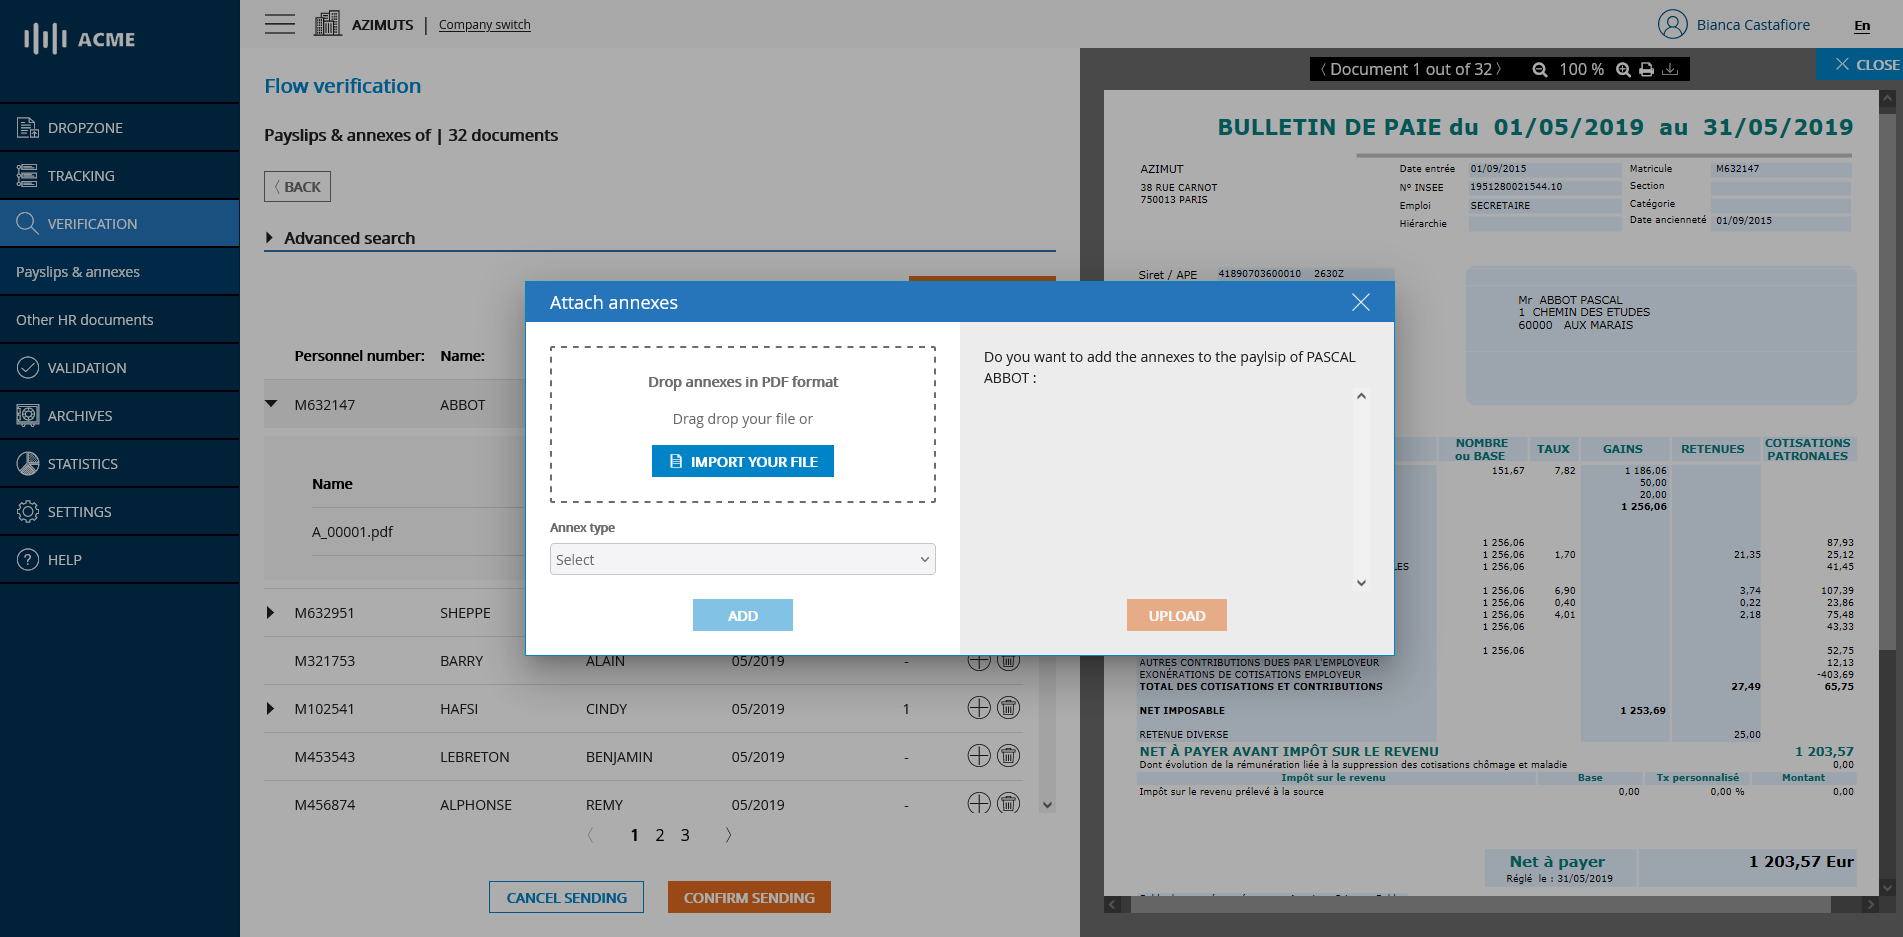
# Manual addition of an annex to a pay slip
In the window that appears, drag and drop or select on your computer the annex in PDF format that you wish to associate with the selected pay slip. Once you have selected your document, choose the type of annex from the list.
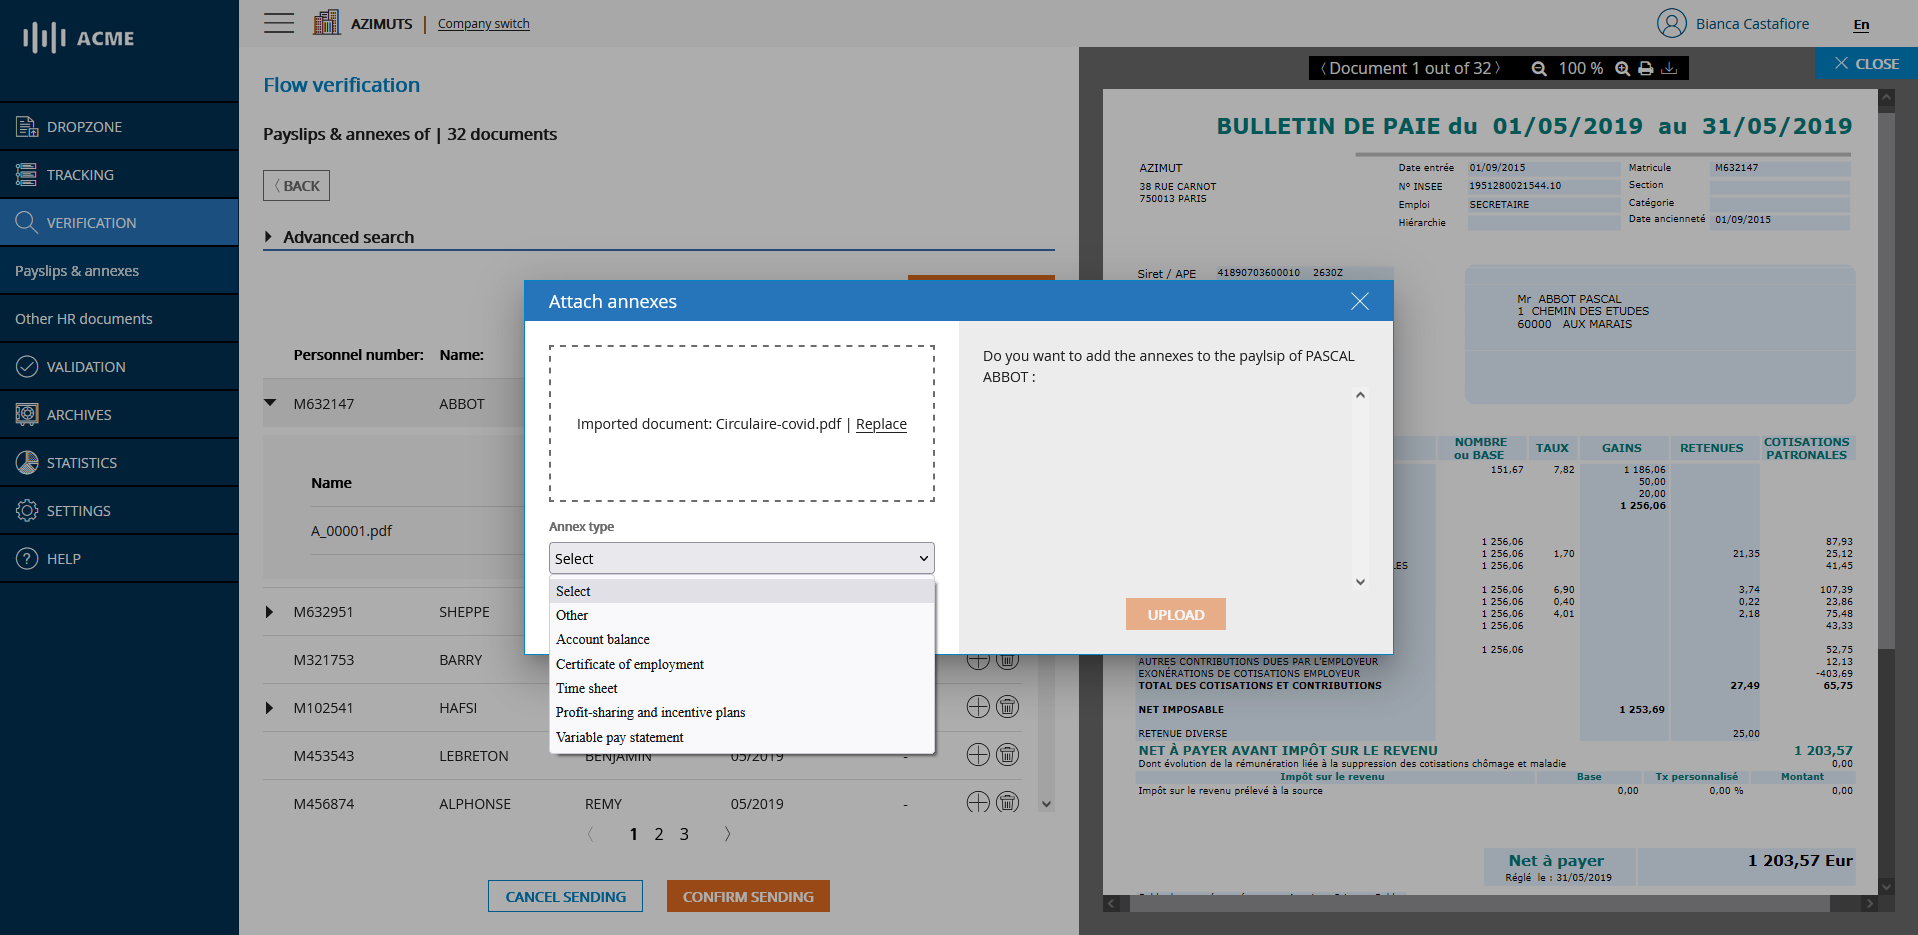
# Choice of the type of annex to add
Once you have chosen the type of annex, click on the ADD button to add it to the list of annexes to be associated to the pay slip on the right. You have the possibility to add several appendices and to delete some by clicking on the trash can icon if necessary.
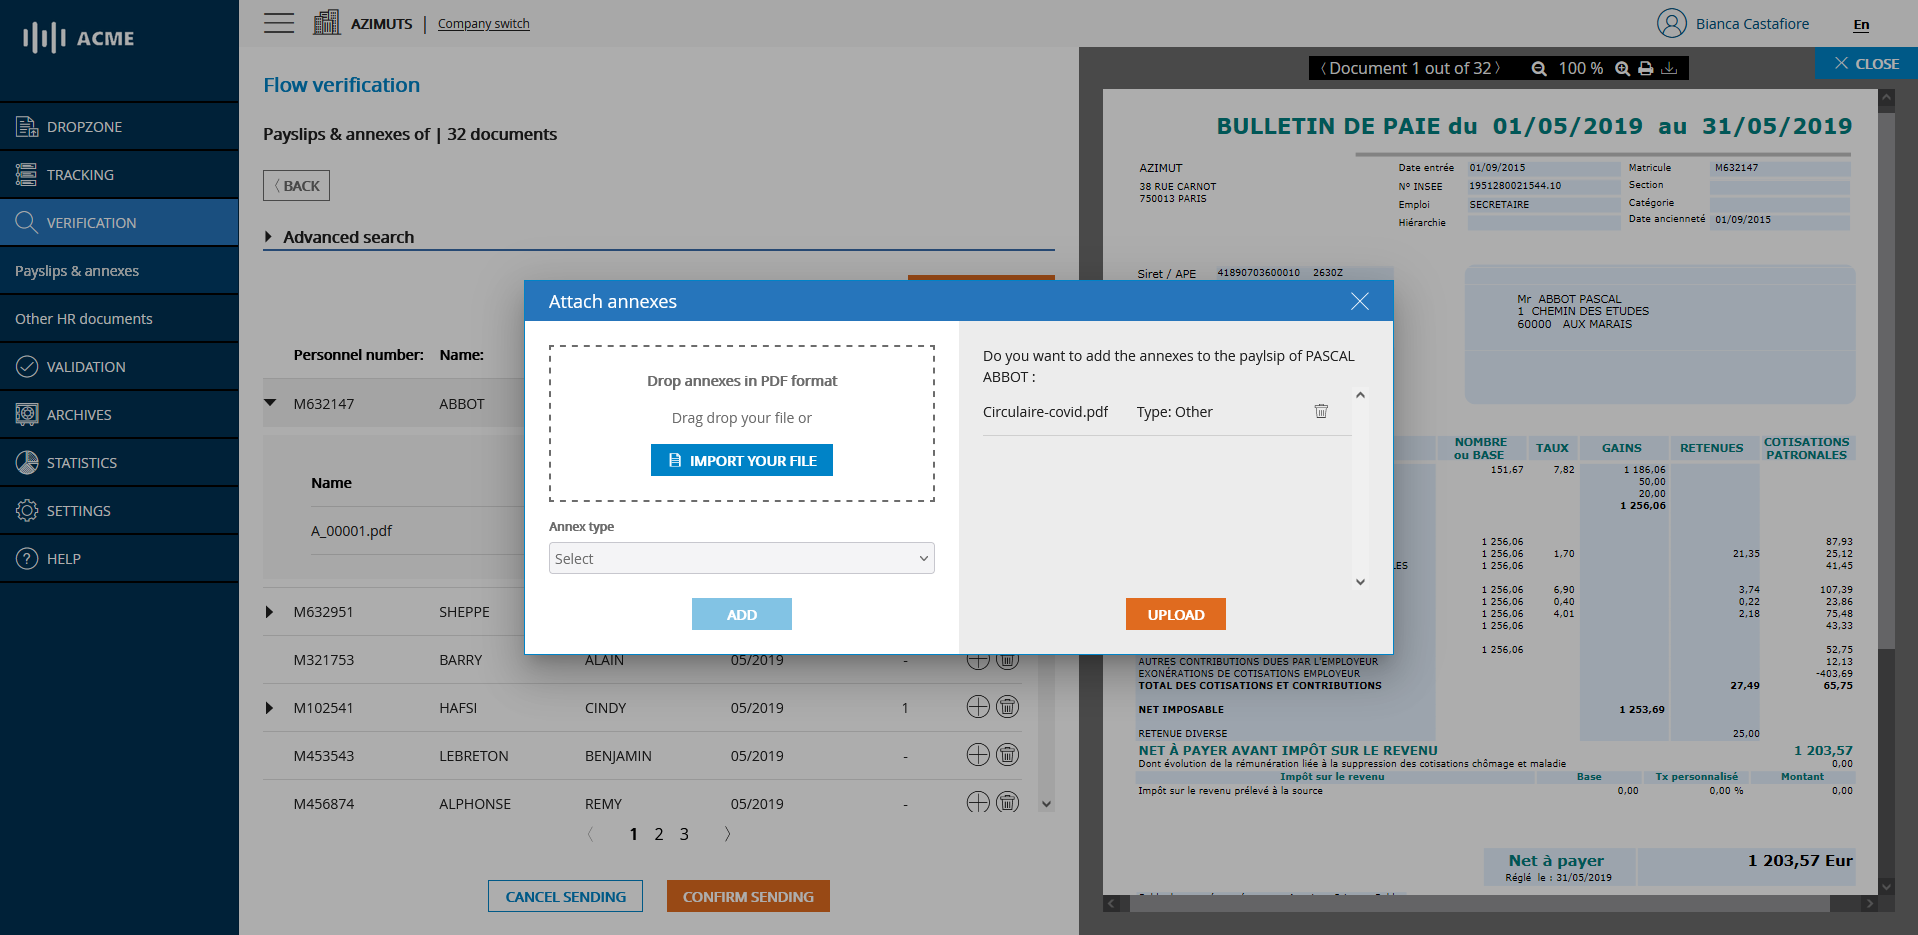
# List of annexes ready to be added
All you have to do is click on the JOIN ANNEXES button to associate your annexes to the selected form. Thereafter, the consultation of the manually added annexes is done in the same way as for the schedules initially present in the flow.
# Adding annexes to the mass payroll flow
You can also add a document to all the employees in the list at once by clicking on the ADD TO ALL button. The procedure is the same as for adding individually
# Deletion of an annex corresponding to a pay slip
You can also remove an attachment from the flow so that it is neither archived nor distributed by clicking on the trash can icon and then confirming the removal.
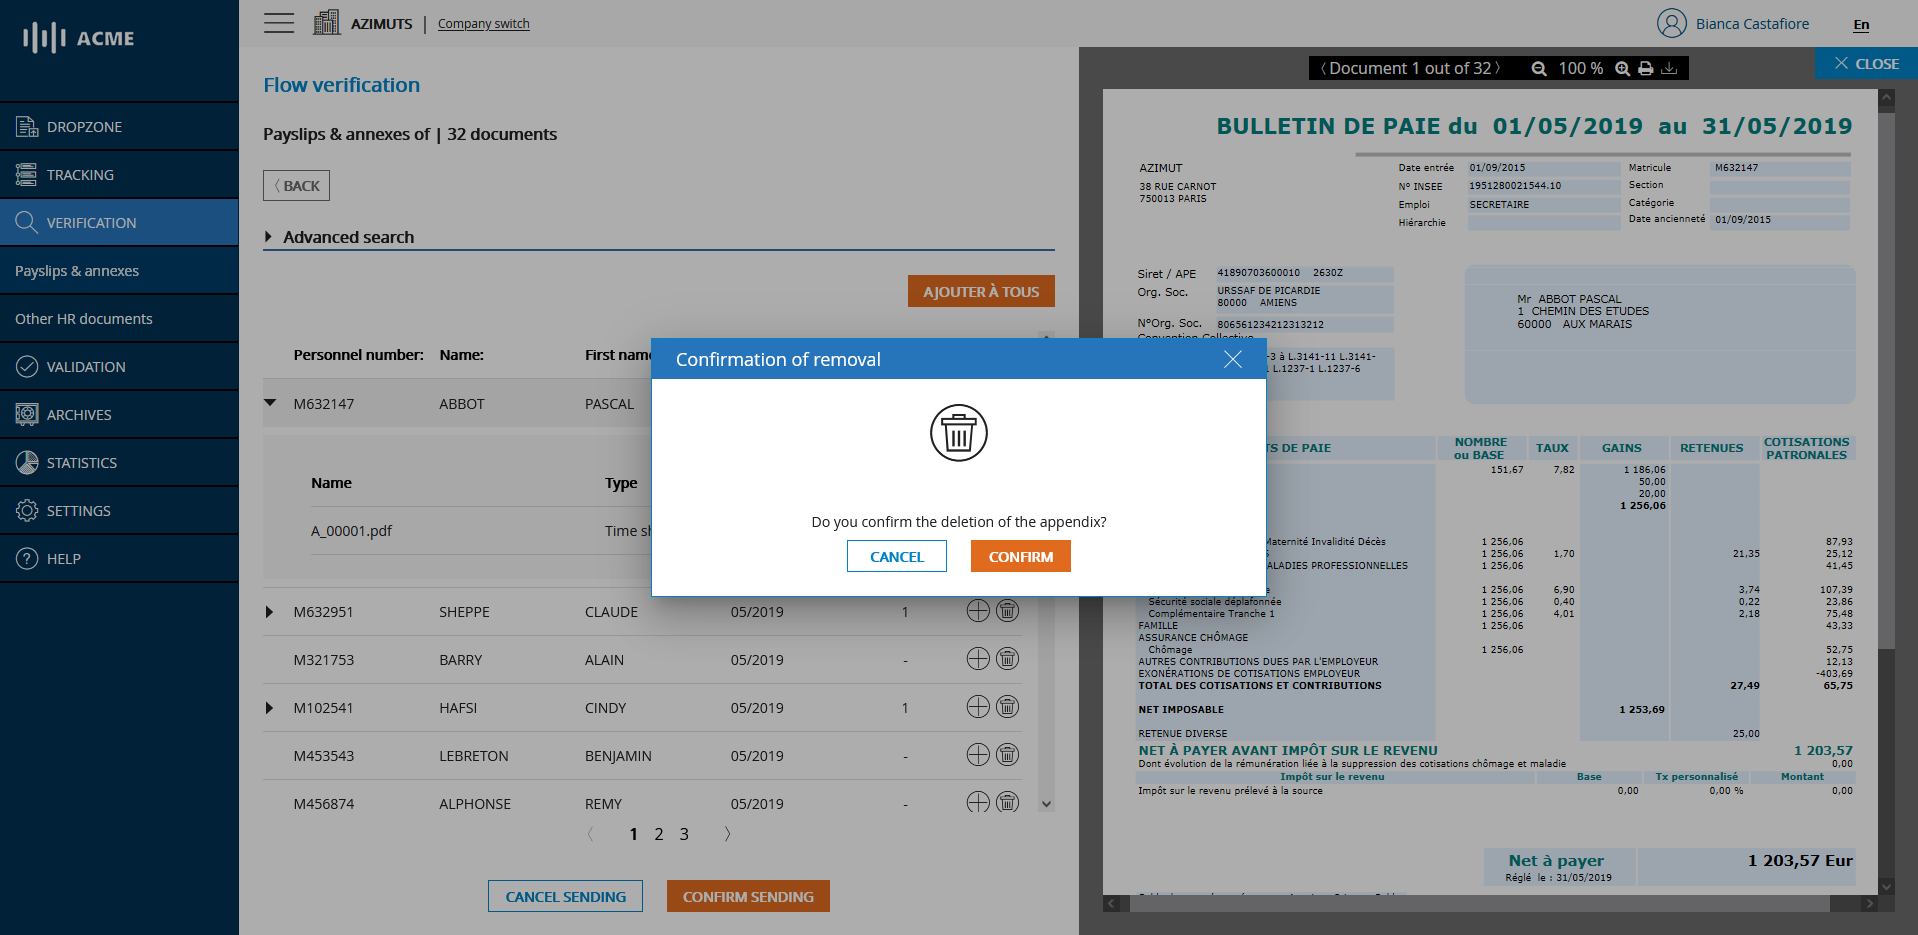
# Deletion of an annex corresponding to a pay slip
# Deletion of a pay slip and associated annexes
You can also delete a payslip from the flow so that it is neither archived nor distributed by clicking on the trash can icon on its line and then confirming the removal.

# Deletion of an annex corresponding to a pay slip
# Cancel or confirm the sending
Once your flow has been checked and your attachments have been verified, deleted or added you have two choices:
- Either your feed is correct and you wish to validate it to proceed to the next step: In this case, click on the CONFIRM button
- Or you want to cancel the sending of your feed: In this case, click on the CANCEL button